How to Do Glazed Donut Nails at Home (Hailey Bieber Chrome Look)
Learn how to do glazed donut nails at home with pearl chrome powder, base color tips, sealing tricks, and fixes for common mistakes. Beginner-friendly, step by step.

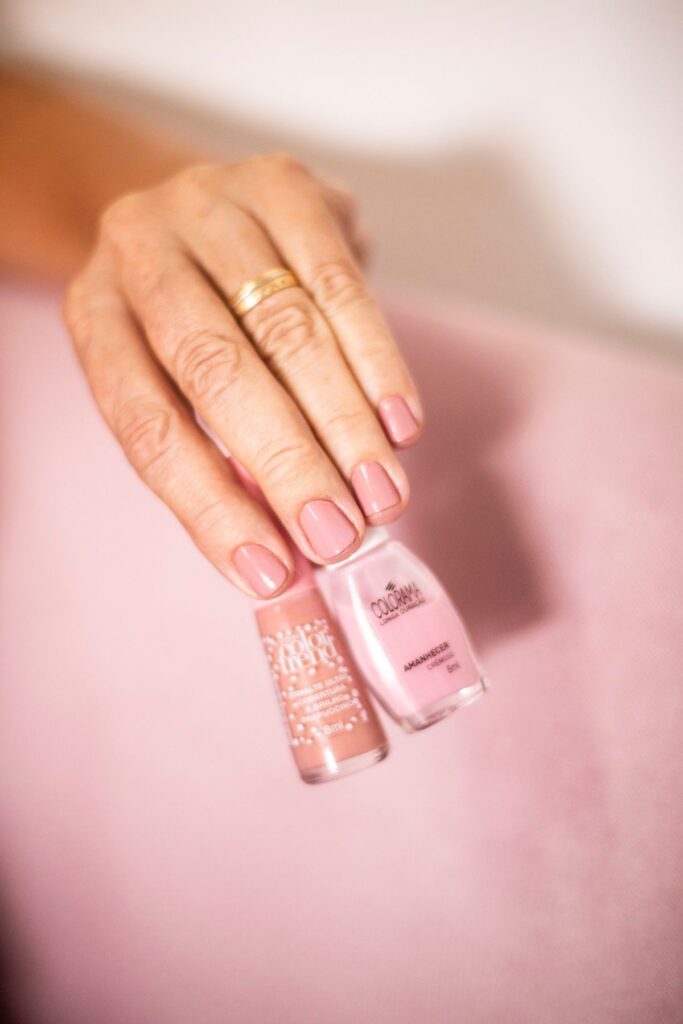
I still remember the first time I tried to recreate Hailey Bieber’s “glazed donut” nails at my kitchen table, chrome powder dust everywhere, one hand stained pearly white, and me grinning at the mirror because they actually looked salon-level. If you’ve been eyeing that milky, iridescent shimmer and wondering whether you really need a $70 salon visit to get it, I promise you don’t. This look is one of the most beginner-friendly chrome techniques out there, and I’m going to walk you through exactly how I do it at home.
Jump to section
Before we get into the steps, I want to point you to a video that helped me nail down my technique early on. I’m not the one who made it, but it’s genuinely one of the clearest tutorials for this exact style, so I’m sharing it here alongside my own tips.

What Are Glazed Donut Nails, Exactly?
“Glazed donut” nails describe that milky-white, almost translucent shimmer that looks like it’s been dipped in edible glaze, hence the name. It blew up when Hailey Bieber wore a version of it, and it’s stuck around because it’s flattering on pretty much every skin tone and nail shape. The effect comes from a chrome or pearl powder applied over a light, often sheer or milky-white base, which is what gives it that soft, opalescent glow rather than the harsher mirror-chrome look you might picture with silver or gold chrome nails.
What You’ll Need
The supply list is shorter than you’d think:
- Chrome or pearl powder in a white, opal, or “unicorn” pearl shade (look for one labeled specifically for the glazed donut or milky chrome effect)
- A sheer milky-white or nude-pink gel or regular polish for your base color
- A tacky-free top coat made for chrome application, or a gel top coat if you’re going the gel route
- A small silicone-tipped applicator or soft eyeshadow brush for pressing the powder on
- A base coat to protect your natural nails
- Nail file, buffer, and cuticle pusher for prep
Gel vs. Regular Polish: Which Should You Use?
Both work, but they behave a little differently. With gel polish, you cure each layer under a UV or LED lamp, and the top coat needs to be a specific “no-wipe” or low-tack gel top coat, because a sticky top coat will grab the powder in clumps instead of a smooth wash. With regular polish, you’re working against dry time instead of cure time. You apply the chrome powder while the top coat is still slightly tacky but not wet, which takes a little practice to time correctly. If you’re brand new to chrome nails, I’d actually recommend starting with gel, because the tackiness stage is more predictable and forgiving.
Step-by-Step: Applying the Chrome Powder
- Prep your nails. Push back cuticles, gently buff the surface, and wipe with a lint-free pad.
- Apply your base coat and let it cure or dry fully.
- Paint on two thin coats of your milky-white or sheer nude base color, curing or drying between coats. Thin coats matter here, thick ones can shrink or streak.
- Apply your chrome top coat in a thin, even layer. If it’s gel, cure it. If it’s regular polish, let it sit until it’s just barely tacky, not wet, not fully dry.
- Pick up a small amount of powder on your applicator and gently press and swirl it onto the nail in circular motions. Resist the urge to rub hard, light pressure builds the shimmer gradually.
- Buff away the excess with a soft brush once the whole nail is covered.
- Seal with a glossy top coat to lock in the shimmer and add shine and durability.
Sealing and Making It Last
The sealing step is the one people skip, and it’s the one that determines whether your manicure lasts five days or fifteen. Chrome powder sits on the surface of your polish, so an unsealed finish will dull and rub off fast. Use a high-shine, non-chrome top coat over the finished look, and reapply a fresh layer every few days if you’re doing regular polish. For gel, cure your final seal coat for the full recommended time, a rushed cure is the number one reason gel manicures peel early. I also always add a cuticle oil routine at night, since keeping the surrounding skin hydrated helps prevent lifting at the edges.
Common Mistakes (and How to Fix Them)
- Powder looks patchy or streaky: Your top coat was too dry (regular polish) or you applied the powder unevenly. Buff lightly and add a bit more powder to the sparse areas, then reseal.
- Chrome effect looks dull instead of shiny: This usually means your sealing top coat is too thick or wasn’t fully cured/dried. Apply a thinner layer next time and give it the full cure or dry time.
- Powder is clumping instead of gliding on smoothly: The top coat was too wet or too tacky-thick. Wipe your applicator clean between passes and use a lighter touch.
- The look chipped within a day or two: Your base coat or seal coat likely wasn’t cured or dried long enough, or you skipped sealing the free edge (the tip) of the nail, which takes the most daily wear.
Fun Variations to Try
Once you’ve got the basic technique down, it’s easy to play with it:
- Glazed French: Do a classic French tip in white or nude, then dust the chrome powder only over the tip for a soft, glowy edge.
- Colored glazed base: Swap the milky white for a soft lavender, blush pink, or pale blue base before adding the chrome, it keeps the pearly effect but adds a hint of color.
- Half-chrome accent nail: Do a full glazed look on one nail per hand and a simple sheer polish on the rest for a lower-maintenance take.
If you love experimenting with finishes like this, I’ve got a whole roundup of more nail art ideas worth bookmarking, plus a guide to the breezier, brighter looks that pair so well with warmer weather in my roundup of summer nail looks if you want to plan out your next few manicures.
Frequently asked questions
Do I need a UV lamp to do glazed donut nails at home?
No, you can absolutely do this with regular polish and no lamp. Gel just makes the tacky timing a bit more predictable for beginners, but plenty of people get gorgeous results with regular polish and patience.
Can I do glazed donut nails over acrylics or dip powder?
Yes, the chrome powder technique works over almost any hard, cured surface, including acrylics, dip powder, and gel extensions, as long as you apply it over a compatible top coat.
How long do glazed donut nails typically last?
With gel and proper sealing, many people get one to two weeks before the shimmer starts to dull. With regular polish, expect it to hold up well for several days before needing a top coat refresh.
I hope this gave you the confidence to try the glazed donut look without booking a salon appointment. It really is one of those manicures that looks far more complicated than it actually is once you’ve done it once or twice. If you want to keep exploring, come browse all nail designs here on the blog, and let me know how your first try turns out, I’d love to hear about it.