How to Do a Salon-Quality Manicure at Home (Step by Step)
Learn how to do a manicure at home on natural nails. Simple kit, step-by-step routine, tips to make polish last, and mistakes to skip. Beginner friendly.

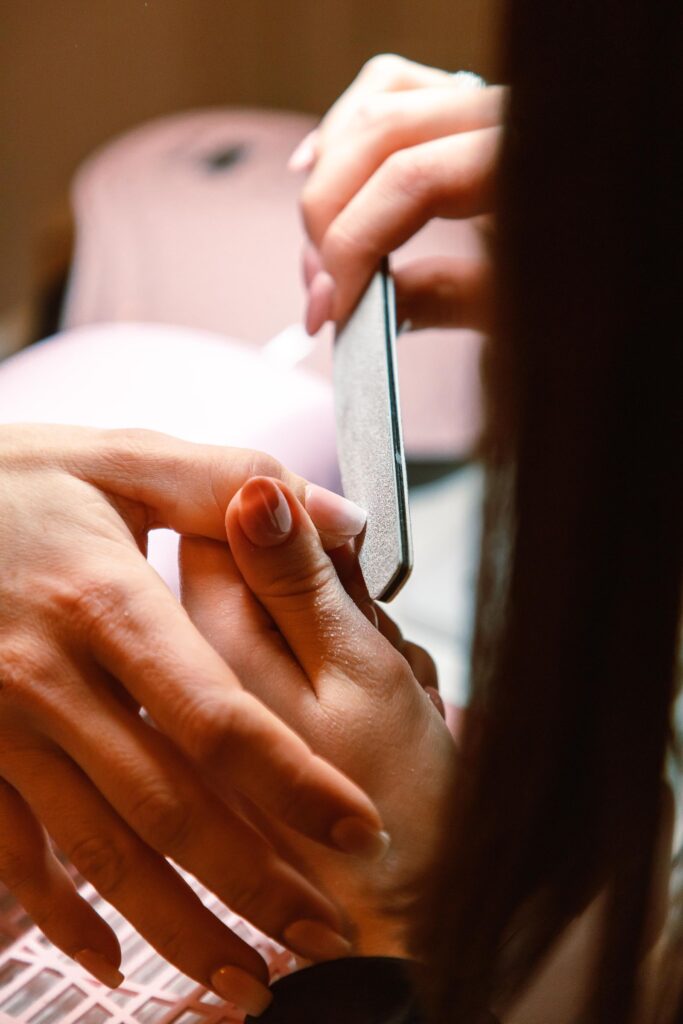
I used to think salon manicures were a kind of magic. Then I priced out a standing appointment, did the math on a year of them, and decided to figure out how to get the same clean, glossy result at my own kitchen table. It took a few lumpy, streaky attempts, but I got there, and you can too.
Jump to section
Here is the honest truth: a good manicure at home is about 80 percent prep and 20 percent polish. Most of what makes a salon set look expensive is tidy shaping, healthy-looking cuticles, and thin, even coats of color. None of that needs fancy equipment or a steady hand you were born with.
This guide is for beginners with natural nails. I will walk you through the kit, the exact order of steps, how to make your polish last, and the mistakes I made so you do not have to. If you like to watch someone do it, Paloma’s walkthrough below is a nice companion to the steps I share here.

The simple kit you actually need
You do not need a drawer full of gadgets. I keep it to the basics, and everything here is easy to find at a drugstore or online.
- Non-acetone or regular polish remover and a few cotton pads.
- A glass or crystal nail file (or a fine 180-grit emery board). Coarse files can fray natural nails.
- A soft buffer block with a smoother side for gentle surface smoothing.
- A cuticle pusher (silicone or orangewood stick) and a cuticle oil.
- Base coat, two colors you love, and a quick-dry-friendly top coat.
- A small bowl for soaking, warm water, and a soft towel.
- Hand cream for the finishing touch.
If you only spend money on one thing, make it the top coat. A decent one changes how shiny and durable your whole manicure looks.
Step-by-step: my home manicure routine
Set aside about 45 minutes the first few times. Once you have the rhythm, you can do it in half that. Work in good light and lay a towel down so spills do not become a disaster.
- Remove old polish. Press a soaked cotton pad on each nail for a few seconds, then wipe down toward the tip. Do not scrape. Wash your hands afterward so no residue is left behind.
- Shape your nails. File in one direction, from the outer edge toward the center, instead of sawing back and forth. Sawing can cause splitting. Pick a shape you can maintain, like a soft square or short oval.
- Soak briefly. Rest your fingertips in warm, slightly soapy water for about five minutes. This softens the skin around the nail so it is easier to work with. Pat dry.
- Care for your cuticles gently. Apply a drop of cuticle oil, then use a pusher to nudge the softened skin back with light pressure. Never cut living tissue. If you see a stray bit of dead, lifted skin, you can snip only that loose piece, but leave anything attached alone.
- Buff lightly. Use the smooth side of your buffer for a couple of passes to even out ridges. Over-buffing thins the nail, so keep it quick and gentle.
- Clean the nail plate. Wipe each nail with a swipe of remover so oils are gone. This is the step that helps polish grip.
- Base coat. One thin layer, and cap the free edge by running the brush along the tip. Let it set for a minute.
- Color. Use three strokes per nail: one down the center, then one on each side. Keep coats thin, and wait a couple of minutes between them. Two coats is almost always enough.
- Top coat. Float the brush over the nail with a generous bead of product and cap the edge again. Wait a few minutes, then finish with cuticle oil and hand cream.
How to make your polish last longer
Nothing is more annoying than chipped color on day two. These habits made the biggest difference for me.
- Cap the free edge with base, color, and top coat. That thin seal at the tip is where most chips start.
- Keep coats thin. Thick polish stays soft underneath and dents easily.
- Refresh your top coat every two or three days with one thin extra layer. It restores shine and adds protection.
- Wear gloves for dishes and cleaning. Hot water and harsh products are tough on polish.
- Use your fingertips, not your nails, to open cans and peel stickers. Those little tasks add up.
- Moisturize daily. Hydrated nails flex a little instead of snapping, and polish tends to stay put better on them.
Common mistakes to avoid
I have made every one of these, so no judgment here.
- Skipping the base coat. Without it, darker colors can leave a yellow-looking tint behind and polish grips less well.
- Shaking the bottle. It adds bubbles. Roll it gently between your palms instead.
- Painting too close to the skin. Leave a hair-thin gap around the cuticle. Flooded edges lift early.
- Rushing the dry time. Smudges happen when you grab your phone too soon. Give it a full ten minutes or so before doing anything fussy.
- Cutting or digging at cuticles. This can leave skin sore and open to irritation. Push gently and moisturize instead.
- Picking off polish. It pulls off layers of the nail with it. Use remover every time.
If you ever notice swelling, redness, pus, or lasting pain around a nail, skip the DIY and see a doctor or licensed nail professional. That is not something to polish over.
A simple weekly routine
Consistency matters more than any single product. Here is a light schedule that fits into a normal week.
- Sunday: Do the full manicure from start to finish.
- Every night: Rub a little cuticle oil into each nail and the skin around it while you watch TV.
- Wednesday: Add one thin fresh layer of top coat and fix any tiny edge wear.
- Following Sunday: Remove the polish, give your nails a day or two off if you like, then start again.
Once the basics feel comfortable, try something playful. A clean finish makes a great canvas for a French tip at home, or if you like a minimal look, browse these simple white nail designs. For more inspiration, I keep a running list of nail art ideas too.
Frequently asked questions
How long does a home manicure take?
Plan on 40 to 45 minutes when you are new to it, including a little drying time. With practice most people get it down to around 30 minutes. Drying is the part that takes the longest, so build in time to sit still.
Should I cut my cuticles?
I do not recommend it. Cuticles protect the skin at the base of the nail, and cutting living tissue can cause soreness and irritation. Soften them with warm water and oil, gently push them back, and only trim tiny bits of loose, dead skin.
How often should I redo my manicure?
Most people are happy with a fresh set every seven to ten days. If your nails feel dry or thin, give them a short break between manicures and keep up the cuticle oil and hand cream.