Aura Nails Without an Airbrush: Easy Sponge Method
You do not need an airbrush for aura nails. A makeup sponge and a few colors create the same soft glow.

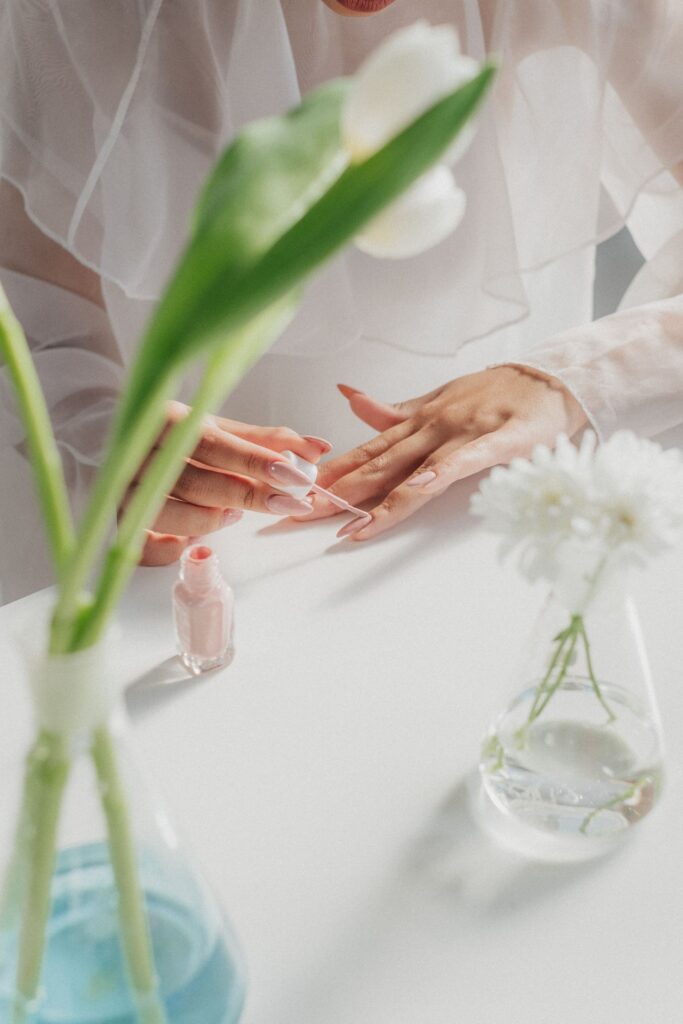
Aura nails look like a soft cloud of color glowing out from the center of the nail. For a while I assumed you needed an airbrush machine to get that blurry, dreamy effect, and I was not about to buy one just to try a trend.
Jump to section
It turns out you can get a very convincing aura with a few basic tools: a makeup sponge, a tiny brush or a cotton swab, and some polish or gel in two or three shades. The effect is forgiving too. A little messiness actually makes it look softer.
Yaliana Enid has a clear video showing how to do aura nails without an airbrush machine, and their tutorial is below. After it, I will share my supply list, the steps the way I do them, and ideas for colors that blend well.

What makes an aura nail
An aura design has a base color, then a small, soft circle of a second color placed near the middle of the nail, blended outward so the edges fade into the base. Some people add a third shade around it, or a hint of shimmer, for depth.
The airbrush does the blending with a fine mist. Without one, you get the same blur by dabbing or sponging color on in thin layers and softening the edge.
Supplies
- Base coat and top coat
- A base color (white, cream or a pale pastel blends best)
- One or two aura colors, in polish or gel
- A makeup sponge or a small piece of sponge cut to size
- A fine detail brush or a soft cotton swab
- A nail lamp, if you use gel
- Nail polish remover and a small brush for cleanup
- A palette, foil or a scrap of paper for mixing
Pick colors that sit next to each other, like lilac and pink, or peach and coral, for a smooth glow. Strong contrasts can look harsh when blended.
Step by step
- Prep the nails. Push back the cuticles, shape and lightly buff. Wipe off dust and oil. If you need a refresher, my manicure at home guide covers it.
- Apply base coat. Cure it if you use gel, or let it dry if it is regular polish.
- Paint the base color. Two thin coats give a smooth, opaque canvas. Let it fully dry or cure.
- Put aura color on your palette. A small blob is enough. You will dab, not brush.
- Dab the center. Pat a sponge into the color, tap off the extra on your palette, then dab it onto the middle of the nail in a soft circle.
- Build in thin passes. Dab lightly two or three times instead of one heavy press. Thin layers blur better.
- Soften the edge. Use a clean corner of the sponge or a dry brush to tap around the outside of the circle so it fades into the base.
- Add a second shade. If you want more depth, dab a smaller spot of a different color inside the first, then blend again.
- Clean up. Use a small brush dipped in remover to tidy the skin around the nail.
- Seal. Apply top coat, cure if needed, and wipe away the sticky layer if your gel leaves one.
Tips for a softer blend
- Less product is better. You can add more, but it is hard to take away.
- Blot the sponge on a paper towel first so the color is not wet and blobby.
- Work quickly with regular polish so it stays tacky. Gel gives you more time.
- Tap, never drag. Dragging makes streaks.
- Hold the nail at a slight angle under good light so you can see where the edge needs softening.
- If you want extra glow, pat a tiny bit of shimmer on the center after blending.
Common mistakes and fixes
The circle looks hard-edged. Tap around the outside with a clean sponge corner, or a dry, fluffy brush, until it fades.
It looks muddy. Too many colors overlapping. Stick to two or three, and let the base stay light.
Color is too strong. Dab a little of the base color back over the edge to tone it down, then re-blend.
The sponge leaves texture. Seal with a slightly thicker top coat, or add a second layer for a smooth, glassy finish.
Polish dries before you blend. Work on one nail at a time, or switch to gel for more working time.
Color and style ideas
Soft pastels are the classic choice: lavender with pink, baby blue with mint, or peach with yellow. For a night-out look, try a deep base with a bright center. You can also change the placement. Instead of the middle, put the aura near the tip or base of the nail for a different feel.
If you like a glossy, pearly look, combine aura color with a sheer shimmer, like in my glazed donut nails guide. For a shimmery, light-shifting effect, cat eye nails at home also pair nicely with a blurry color center. And if you want to try other soft effects, marble nails for beginners is another easy design.
Making the design last
Cap the free edge by running the top coat along the tip, and apply a second layer of top coat once the first is dry. Wear gloves for cleaning, and use cuticle oil daily. Avoid using your nails as tools.
A brief safety note: gel lamps and removers should be used as their instructions say, in a ventilated room, and away from flames. If your skin feels irritated by a product, stop using it.
Practice on one nail first
If you are nervous, paint your base on all ten nails and try the aura on just your ring finger. Once you see how the sponge behaves with your polish, you will know how much color to pick up and how hard to press. Then you can repeat the same touch on the rest without stress.
Frequently asked questions
Can I do aura nails with regular polish?
Yes. It is faster to dry, so work on one nail at a time and dab thinly. Gel gives more time to blend, but polish works.
What can I use instead of an airbrush?
A makeup sponge is the easiest option. A soft cotton swab or a fluffy brush can also help you blur the edges.
Which colors blend best for aura nails?
Neighboring shades like pink and lilac or peach and coral blend smoothly. A pale base helps the glow show up.