How to Make Press-On Nails Last Longer: My Routine
Press-ons fail because of prep, not price. Here is the routine I use to keep mine on, plus the fixes for lifting corners.

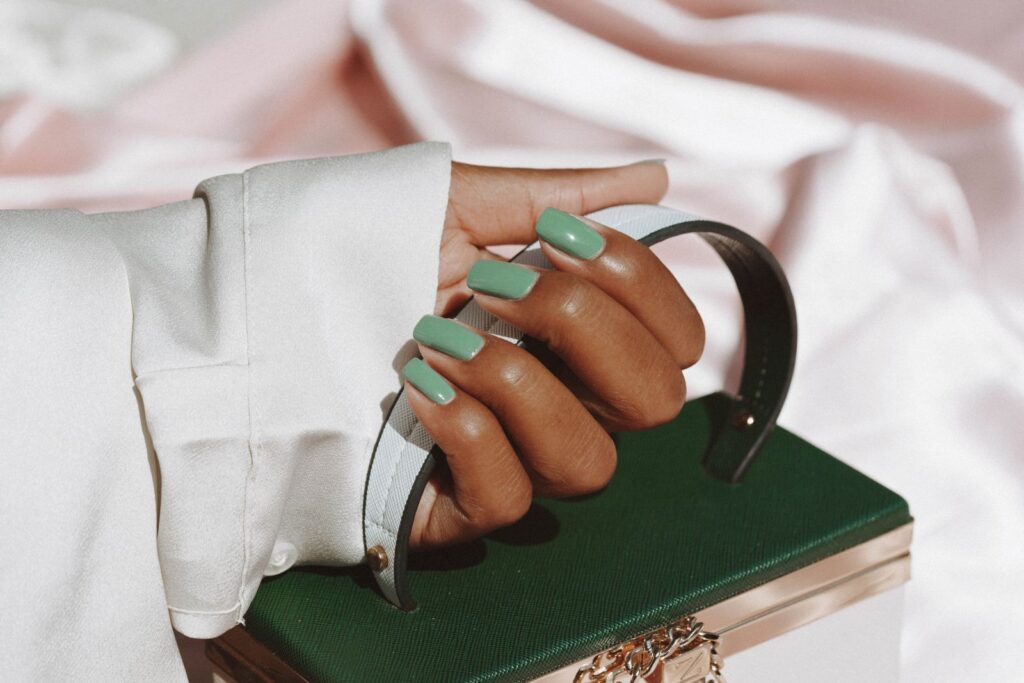
Press-on nails have a reputation for popping off at the worst moment, usually in the middle of a grocery run. I used to blame the nails. Then I realized that almost every failure came down to what I did, or skipped, in the five minutes before I pressed them on.
Jump to section
The good news is that a few small habits can take a set from two days to well over a week, and sometimes much longer. You do not need an expensive set. You need clean, dry nails, the right size, and a bit of patience while the adhesive settles.
A tutorial from Crystal Clues shows exactly how to get an inexpensive set of press-ons to last, and their tutorial is below. After it, I will walk you through my own routine, the mistakes I see most often, and how to wear and remove them gently.

Why press-ons fall off in the first place
Three things cause most lifting: oil on the nail, a poor fit, and too much water too soon. Natural nails produce a thin film of oil, and adhesive simply cannot grip it. A nail that is too wide or too narrow leaves edges that catch on hair and clothes and peel up. And soaking your hands right after application weakens the bond before it has fully set.
Once you know that, the fixes are simple. Prep well, size carefully, and go easy on water for the first day.
What you need
- A set of press-on nails with a few spare sizes
- Nail glue or adhesive tabs (glue usually holds longer, tabs are easier to remove)
- A nail file and a soft buffer
- A cuticle pusher
- Rubbing alcohol or a nail cleanser and lint-free wipes
- A small bowl of warm water and soap for washing before you start
- Optional: a clear top coat to seal the edges
Step-by-step application for long wear
- Wash and dry your hands. Get rid of lotion and oil. Dry thoroughly.
- Push back the cuticles. Gently, so the nail bed is fully visible. Remove any cuticle skin stuck on the nail plate.
- Buff lightly. A quick pass over the shiny surface gives the glue something to hold. Do not over-file; thin nails do not need it.
- Cleanse. Wipe each nail with alcohol or cleanser and let it dry. Try not to touch the nail afterward.
- Size every nail. Lay the press-ons out in order. Each should cover from sidewall to sidewall without overlapping skin. File the sides if one is slightly wide.
- Apply glue to the natural nail and the back of the press-on. A thin layer on both surfaces grips better than a blob on one.
- Press from the cuticle end down. Place the top edge near the cuticle, then lower the rest at an angle to push out air bubbles. Hold firm for about thirty seconds.
- Wipe away squeezed-out glue. Do this right away with a cotton swab, before it hardens.
- Seal the edges. If you like, brush a thin clear top coat along the edge where press-on meets nail.
Do one nail at a time and hold each in place. Rushing through ten at once is how the first few end up lifting.
Habits that make them last
- Wait before water. Give the glue a good while to cure before soaking your hands or doing dishes. I avoid water for the first several hours.
- Use gloves for cleaning. Hot water and detergent are the enemy of any adhesive.
- Do not use your nails as tools. Popping cans, scraping stickers and opening packages are the classic ways to snap a press-on.
- Keep the length manageable. Very long nails take more leverage. A shorter shape is stronger.
- Moisturize your hands, not the nail plate. Keep hand cream away from the edge of the nail or it can creep under.
- Dry hands well after washing. Damp nails under a press-on invite lifting.
Common mistakes and how to fix them
A corner lifts after a day. Add a tiny dab of glue under the lifted edge, press and hold it. Do not just leave it, because it will catch on everything.
Air bubbles under the nail. Usually uneven glue or pressing too flat. Next time, press from the cuticle and work downward.
Nail feels too tight or pops off fast. The size is off. Swap to a size that hugs your sidewalls without squeezing.
White patches on the nail after removal. That is typically from pulling them off. Soak them loose instead and rest your nails.
Glue on your skin. Wipe it quickly. If it already set, soak your finger in warm soapy water and let it loosen on its own. Never force it.
Ideas to reuse and restyle
One of the nicest things about press-ons is that a well-cared-for set can be worn again. If you used adhesive tabs, they can often be lifted off in one piece, cleaned with alcohol and reapplied with fresh tabs. Try painting over a neutral set with a simple design for a new look.
A clean base works well for art. My post on French tips at home shows an easy way to draw a tip line, and these nail art ideas are good for repainting a plain set.
Removing them gently
When you are ready to take them off, be kind to your natural nails. Soak your fingertips in warm, soapy water, then slide an orange stick or cuticle pusher gently under the side and work the glue loose. If they do not budge, soak longer rather than prying.
Some people use a little cuticle oil under the edge to help. Once they are off, buff away any glue residue softly and moisturize. If you are not sure how to look after bare nails, my manicure at home guide is a good refresher. As a safety note, nail glue bonds skin quickly, so keep it away from your eyes and children, and work in a ventilated room.
Frequently asked questions
How long should press-on nails last?
It depends on your prep, your glue and how hard you use your hands. With good prep and gentle habits, many people get a week or more, and some get considerably longer.
Should I use glue or adhesive tabs?
Glue generally holds stronger for longer wear. Tabs are quicker and gentler, so they suit short-term events and people who like to reuse their sets.
Can I shower with press-ons on?
Yes, once the glue has cured. Try to avoid long soaks in hot water, dry your hands well, and wear gloves for washing up.