How to Do French Tip Nails at Home (Beginner-Friendly Guide)
Learn how to do clean, classic French tip nails at home with beginner-friendly steps, tools, tape vs. freehand tips, and fixes for common mistakes.

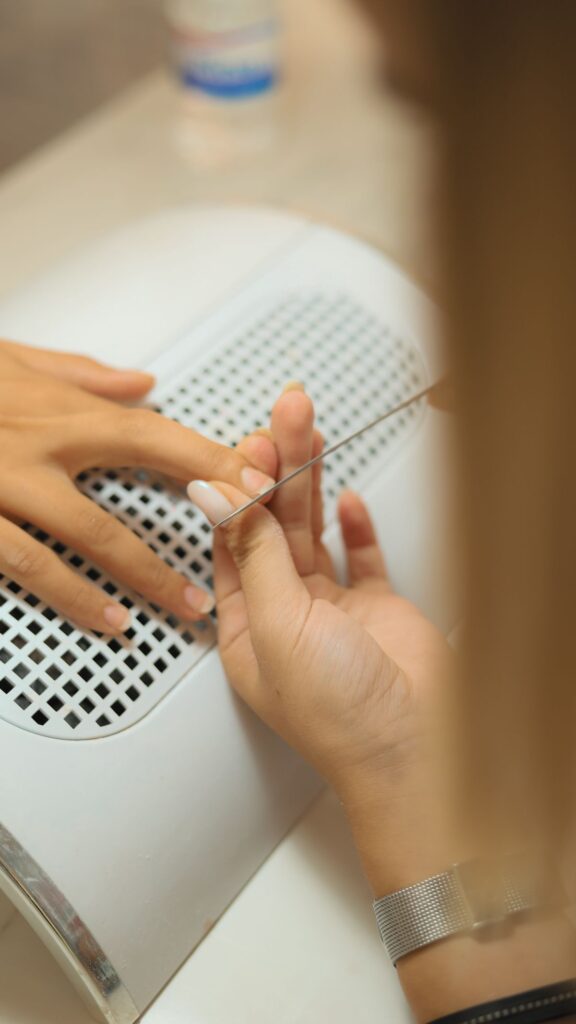
I still remember the first time I tried to freehand a French tip on my own nails — my hand shook, the line came out wobbly, and I ended up wiping half of it off with a cotton swab before I even got to the second hand. If that sounds familiar, take a breath. French tips look precise and a little intimidating, but the technique behind them is actually one of the most beginner-friendly nail art styles once you know a few tricks. I’ve been doing my own nails at home for years, and this classic look is still one of my most-requested tutorials from friends.
Jump to section
In this guide, I’ll walk you through exactly what I use, how I prep my nails, and the step-by-step process for getting that clean, crisp tip line — whether you go freehand, use guides, or reach for French tip stickers. I’ve also embedded GlammedBeauty’s full real-time walkthrough below so you can follow along and see the pacing of a full set from start to finish, which is genuinely helpful when you’re new to this.

What you’ll need
You don’t need a professional kit to get a great result. Here’s my basic at-home lineup:
- A base coat (protects your natural nail and helps polish grip)
- A sheer pink, nude, or natural-toned polish for the base color
- A white (or colored) polish for the tips — a good opaque formula matters more here than brand
- A thin nail art brush, French tip guide stickers, or regular tape, depending on your method
- A top coat to seal and add shine
- Cotton swabs and a bit of polish remover or acetone for cleanup
- A cuticle pusher and a nail file/buffer
Step 1: Start with clean, well-shaped nails
Good French tips start before you ever touch white polish. Remove old polish completely, push back your cuticles gently, and file your nails into your preferred shape — square, squoval, or almond all work beautifully with a French tip, though a slightly squared or rounded free edge tends to make the tip line easier to follow for beginners. Buff the nail surface lightly so it’s smooth, then wipe each nail with a bit of polish remover to strip away any oils. This helps your polish adhere and last longer without chipping at the tip, which is the first place a manicure usually wears down.
Step 2: Apply your base coat and sheer color
Apply a thin layer of base coat and let it dry fully. Then apply one or two thin coats of your sheer pink or nude polish as the “canvas” for your tips. Thin coats matter here — thick polish takes longer to dry and is more likely to smudge when you start working on the tip line. Let this base color dry completely before moving on; rushing this step is one of the most common reasons a French manicure ends up looking smeared.
Step 3: Create the tip line — three methods
Freehand with a thin brush
This is the classic method and the one that gives you the most control once you get comfortable. Load a thin nail art brush with white polish, and starting at one side of the nail, paint a smile-shaped line following the natural curve of your nail tip. Steady your hand by resting your pinky on the table or against your other hand. It’s completely normal for your first few nails to come out uneven — you can always clean up the edges afterward with a small brush dipped in polish remover.
Guides or tape
If freehand feels too shaky at first, French tip guide stickers are a great training wheel. Press one onto the nail just below where you want the tip line to start, paint the white polish over the exposed tip, and peel the sticker off before the polish fully dries. Regular tape cut into small strips works in a pinch too, though it doesn’t hug the curve of the nail quite as well as purpose-made guides.
French tip stickers or wraps
For the fastest, most consistent result, pre-shaped French tip stickers or vinyl wraps are hard to beat. They come in white, nude, and colored options, and they’re especially handy if you’re doing your non-dominant hand and find a brush harder to control. Just press them on evenly and smooth out any air bubbles from the center outward.
Color choices beyond classic white
The traditional white-tip-on-pink look is timeless, but French tips are endlessly customizable. A soft milky white on a natural base feels modern and quiet, while a bold color swap — think a deep red tip, a lilac tip, or even a glitter tip — turns the same technique into something totally different. If you want inspiration for lighter, more traditional looks, I’ve rounded up a whole set of white French tip design ideas that range from minimal to a little more detailed. And if you’re drawn to color, this collection of pink and colored French tip ideas is a great place to browse for your next mani.
Step 4: Seal it with top coat
Once your tips are fully dry — and I mean fully, not just dry-to-the-touch — apply a good top coat over the entire nail. This blends the edge between your base color and the tip, adds shine, and is honestly the step that makes a home French manicure look salon-finished. A glossy top coat gives the classic look, while a matte top coat can give the same design a completely different, more modern feel.
Common mistakes and how to fix them
- Smudged tip line: Let each layer dry fully before starting the next, and work in thin coats rather than one thick one.
- Uneven tips from nail to nail: Use a guide or sticker for consistency until your freehand skills feel steady, or paint your dominant hand first as practice.
- White polish looks streaky: Some white polishes are naturally thin. Apply two light coats rather than one heavy one, and let the first coat dry in between.
- Tip line doesn’t match your nail’s curve: Look at the natural white edge of your nail as you paint — following that curve, rather than drawing a straight line, is what makes the shape look natural.
- Polish gets on your skin: Clean up with a thin brush dipped in polish remover, or use a bit of tape around the nail before you start painting.
A few extra at-home tips
Good lighting makes a bigger difference than people expect — natural daylight or a bright desk lamp helps you see exactly where your tip line is landing. It also helps to practice on one nail at a time rather than rushing through all ten in one pass; you can always go back and even out lines once the base coats have dried. And if you’re just starting out, don’t feel like you need a perfectly symmetrical set on your first try. Even nail techs sand and reshape tips constantly — a little touch-up is part of the normal process, not a sign you did it wrong.
If you love this classic look, it’s worth exploring beyond French tips too — there’s a whole world of more nail designs to try once you’ve got the basics down.
Frequently asked questions
Do I need special tools to do French tips at home?
No — a thin nail art brush, regular white and sheer pink polish, and a top coat are enough to get started. Guide stickers or French tip wraps can make the process easier while you’re still building confidence with the line.
How long does a French manicure done at home usually last?
With a proper base coat, thin polish layers, and a good top coat, a home French manicure typically wears similarly to any regular at-home polish manicure — expect it to hold up well for several days to about a week before you start to see tip wear or chipping, depending on your daily activities.
What’s the easiest method for a total beginner?
French tip guide stickers or pre-shaped tip stickers are usually the easiest starting point because they take the guesswork out of the curve. Once you’re comfortable with the overall process, freehand painting gives you the most flexibility to customize the shape and thickness of the tip.
I hope this guide gives you the confidence to try French tips at home, even if your first attempt isn’t picture-perfect — mine certainly wasn’t. Take it one nail at a time, be patient with the drying steps, and you’ll find your own rhythm before long. Happy painting!