Easy Crochet Tote Bag for Beginners (Step by Step)
Learn how to crochet a sturdy tote bag: best yarn, stitches, base-to-strap construction, strength tips, variations and care, all beginner friendly.

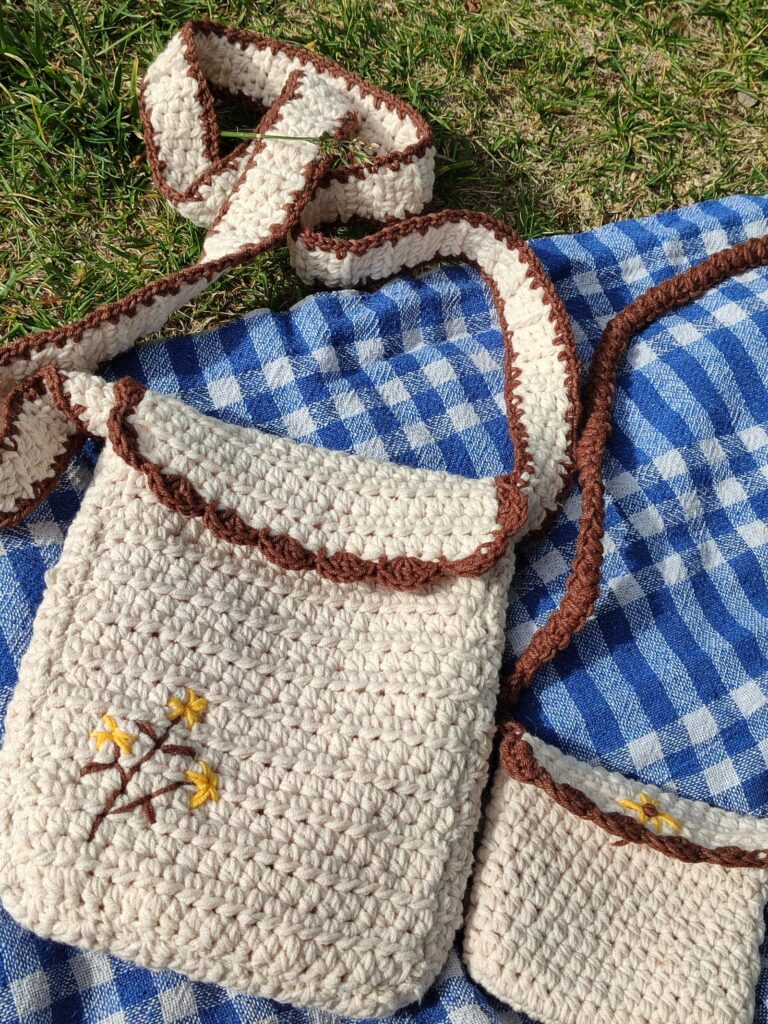
I still remember the first bag I ever crocheted. It looked great on my lap and lasted about four minutes on my shoulder before the strap stretched into a sad, drooping noodle. I had picked the softest acrylic in the store and assumed soft meant good. It did not.
Jump to section
A tote bag is one of the best beginner projects out there, because it is mostly repeating the same simple stitch in a big spiral. There are no sleeves to shape and no tiny pieces to sew. But a bag has to carry weight, so the small choices, like yarn and tension, matter more than they do for a scarf.
This guide covers everything I wish someone had told me before that first sagging bag: what to buy, which stitches to learn, how the bag is built from bottom to strap, and how to keep it from stretching. Elyse’s tutorial below is a friendly visual walkthrough to follow along with.

Choosing yarn for a crochet tote bag
Go for cotton or a cotton blend. Cotton has very little stretch, so your stitches hold their shape when the bag is loaded with a wallet, a water bottle and whatever else ends up in there. Look for worsted weight (labeled 4) or a slightly thicker medium cotton. Mercerized cotton is smoother and shinier, while plain kitchen-style cotton is a little grippier and easier to see your stitches in.
Stretchy acrylic is the usual culprit behind saggy bags. It springs back when you handle it on the hook, then slowly gives in to gravity once weight is added. The fabric grows longer, the strap thins out, and the bag never quite recovers. Acrylic is fine for a decorative pouch, but for anything you will carry daily, cotton wins.
Buy a little more than you think you need. Dye lots can differ, and running out halfway up a bag is a headache. Light colors show dirt faster, so keep that in mind if the bag will live at the grocery store.
Hook size and notions
Choose a hook one or two sizes smaller than the yarn label suggests. A 4 mm to 5 mm hook is common for worsted cotton. The tighter fabric this produces is what keeps a tote sturdy instead of floppy.
- Stitch markers: essential when working in the round, since the rounds are a spiral and it is easy to lose your place. A scrap of contrasting yarn works too.
- Yarn needle: for weaving in ends and attaching straps.
- Scissors and a tape measure: to check the base and body as you go.
- Optional lining: a piece of cotton fabric stitched inside gives the bag extra structure and stops small items poking through the stitches. It is not required, just nice.
Stitches you need
You only need a handful. Abbreviations, once: ch is chain, sc is single crochet, hdc is half double crochet, sl st is slip stitch and st is stitch.
- Single crochet (sc): makes a dense, firm fabric. It is the top choice for beginner totes.
- Half double crochet (hdc): a bit taller and faster, still fairly sturdy with a tight tension.
- Working in the round: instead of turning at the end of each row, you keep going in a continuous spiral (or join with a slip stitch) so the fabric builds upward as a tube.
If you have never made a shape from the center out, practice on a small motif first. Our granny square guide is a gentle way to get comfortable with counting stitches and corners.
How a tote is built: base, body, strap
1. The base
Chain a length for the bottom of your bag, say 20 to 30 chains for a medium tote. Work single crochet along one side of the chain, put 3 sc in the last chain, then work back along the other side of the chain. This gives you a long oval. In the next rounds, add increases at both ends so the oval grows and lies flat. Keep going until the base is the size you want. For a more squared shape, increase only at the four corners.
2. The body
Now stop increasing. Work one stitch into each stitch of the last round so the fabric turns upward and the walls rise straight. To make the base corners crisp, work the first body round into the back loops only; that creates a fold line. Place a marker at the start of each round and keep going until the bag is as tall as you like. Most people land somewhere around 10 to 14 inches, but it depends on your use.
3. The strap
There are three friendly options:
- Crocheted strap: chain a length, work sc back along it, and join to the top edge of the bag. Add a second or third row for width and strength.
- Braided strap: make three long chains or cords and braid them. It looks pretty and distributes weight nicely, but braids can stretch, so consider stitching a ribbon inside.
- Leather or faux leather straps: purchased handles with holes can be sewn or looped on. They are the most stable option and give a polished look.
Whichever you pick, attach the strap ends over several stitches and sew through them more than once. The join point takes the most stress.
Sizing and strength tips
- Keep your tension tight. If your stitches look loose and open, go down a hook size.
- Reinforce the strap by working a few extra rows or crocheting over a strip of sturdy webbing.
- Make the strap attachment wide, not a single stitch. Weight spreads out better.
- Do a quick weight test: fill the finished bag with a few books before you trust it with anything precious.
- Add a top edge round of sc so the opening keeps its shape and does not flop inward.
If you enjoy adding a bit of surface interest once the basics feel comfortable, our textured crochet patterns post has ideas that suit a tote body well.
Simple variations
- Market tote: taller and slightly wider, with long straps that fit over a coat sleeve.
- Mesh beach bag: alternate chains and stitches to make an airy, open net that drains sand and water.
- Striped bag: change colors every few rounds. Carry the yarn up the inside of the bag, or cut it and weave in the ends.
- Granny-square panel: stitch a square motif to the front as a pocket or a decorative panel.
Common mistakes
- Using stretchy acrylic and wondering why the bag sags.
- Losing count of increases so the base cups instead of lying flat. Mark each increase round.
- Skipping the marker and losing the start of a round.
- Making the strap too thin or attaching it to only one or two stitches.
- Pulling the edge too tight when you fasten off, which can pucker the top.
If you love crocheting round shapes, the same skills carry straight over to our bucket hat tutorial.
Care and washing
Check your yarn label first. Most cotton can be machine washed on a gentle cycle in cool water, ideally inside a pillowcase or mesh bag. Do not tumble dry; cotton can shrink and warp. Reshape the bag while it is damp and let it dry flat or stuffed with a towel. If you added a fabric lining or leather straps, spot clean those parts by hand instead.
Frequently asked questions
How much yarn does a crochet tote bag need?
It depends on size and yarn weight, but a medium worsted cotton tote often takes a few hundred yards. Check your yarn’s yardage and buy an extra skein to be safe.
Is a crochet tote bag good for a beginner?
Yes. It mainly uses single crochet in the round, so once you can chain and make basic stitches, you can finish one. The base is the trickiest part, and a stitch marker helps a lot.
How do I stop my crochet bag from stretching?
Use cotton or a cotton blend, work with a smaller hook for tight stitches, reinforce the strap, and consider adding a fabric lining. Avoid overloading it with very heavy items.