How to Crochet a Granny Square for Beginners (Classic, Step by Step)
Learn how to crochet a classic granny square step by step, from the center ring to fastening off, with a beginner-friendly video and honest tips from Sadie.

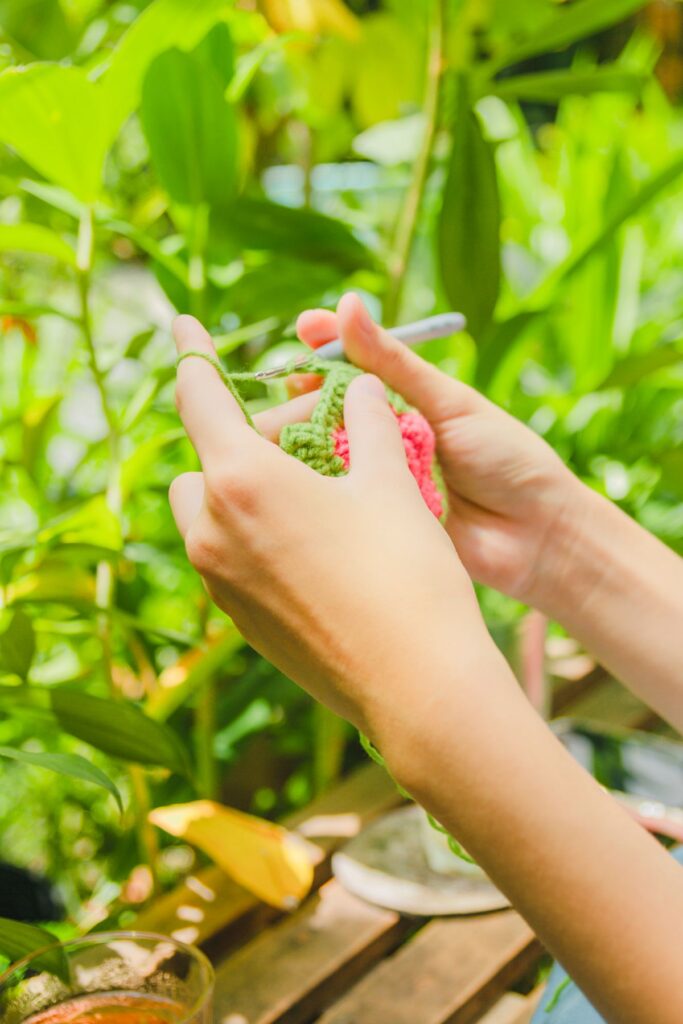
The first time I finished a granny square, I actually gasped a little. It’s such a simple shape, just a ring with a few clusters stitched around it, but there’s something almost magical about watching those colorful “petals” stack into a perfect square. If you’ve wanted to try crochet but felt intimidated by patterns full of confusing abbreviations, the granny square is exactly where I’d tell you to start. It’s forgiving, it’s fast, and once you learn the rhythm, you’ll be able to make them almost without looking at your work.
Jump to section
I still remember Maddy Marie’s tutorial being one of the clearest breakdowns I’d seen when I was relearning the classic version for this post, so if you’re a visual learner, her video pairs nicely with everything below.

What is a granny square, and why start here?
A granny square is a small, square piece of crochet made by working rounds of stitch clusters around a center ring, with a corner built at each corner as you go. Because every round follows the same logic, once you learn it you can repeat it endlessly, in any color combination, to build blankets, pillow covers, bags, coasters, or garments. Squares are also wonderfully portable: each one is small enough to finish in one sitting, which makes them ideal for practicing tension and stitch consistency without committing to a giant blanket from day one.
If you’ve ever admired a cozy, textured throw pillow made from crochet squares, that’s usually granny squares at work. Once you’ve got the hang of the classic version, it’s a natural next step to browse turning your finished granny squares into cozy pillow covers for your couch or reading nook.
What you’ll need
- Yarn: A worsted weight (medium, US category 4) yarn is easiest for beginners because the stitches are big enough to see clearly. Cotton or a cotton-acrylic blend holds its shape nicely for squares.
- Hook: A US size H/8 (5mm) or I/9 (5.5mm) hook pairs well with worsted weight yarn, though you can size up or down based on your gauge and the drape you want.
- Scissors and a yarn needle for weaving in ends.
- Stitch markers (optional) to mark your first stitch of each round so you don’t lose track.
This tutorial uses US crochet terms: chain (ch), slip stitch (sl st), double crochet (dc), and chain space (ch-sp).
Starting your center ring
Every granny square begins with a small ring that all your stitches crochet into. You have two common options:
- Chain ring: Chain 4, then join with a slip stitch into the first chain to form a small loop. This is the traditional method and works well once you’re comfortable with tension.
- Magic ring (adjustable loop): Make an adjustable loop with your yarn, work your stitches into it, then pull the tail to cinch the center closed. Many beginners find this leaves a tighter, neater center hole, though it takes a little extra practice to master.
Either method is correct. Try both and use whichever feels more comfortable in your hands.
Round 1: building your first clusters
Chain 3 (this counts as your first double crochet). Work 2 more double crochets into the ring, then chain 2 (this becomes a corner space), and repeat that “3 double crochets, chain 2” pattern three more times around the ring, for a total of four clusters separated by four chain-2 corner spaces. Join to the top of your starting chain-3 with a slip stitch. That’s round one done, and you already have the classic granny shape taking form: a small square with four clusters and four open corners.
Round 2 and beyond: growing your square
Each new round adds a layer around the outside, and every round uses the same building block: a group of 3 double crochets worked into the chain-2 corner spaces of the round below, with a chain-1 linking each cluster along the sides, and a chain-2 space left open at every corner so the square keeps growing evenly.
For round 2, work your way into the nearest corner space, then stitch 3 double crochets, chain 2, 3 double crochets into that same space (this is what makes it a “corner”), chain 1, then 3 double crochets into the next side space, repeating all the way around and closing with a slip stitch. Every later round follows the same logic: corners get a full “3dc, ch-2, 3dc” treatment, and sides get “3dc” clusters separated by chain-1 spaces. As the square grows, you’ll simply have more side clusters between each corner.
Changing colors between rounds
This is the fun part that gives granny squares their classic multicolor look. At the end of a round, instead of finishing your last slip stitch in the same color, draw up a loop of your new color and complete the join in the new shade. Cut the old color, leaving a tail to weave in later, and continue the next round in the fresh color. You can change colors every round, every few rounds, or not at all; it’s entirely your call.
Fastening off and weaving in ends
Once your square is the size you want, cut your yarn, leaving a 5 to 6 inch tail, and pull it through your last loop to fasten off. Thread the tail onto a yarn needle and weave it through the backs of nearby stitches for a couple of inches, then trim the excess. Do this for every color change too. It takes a few extra minutes, but tucked-in ends are what make finished squares look neat and hold up to washing over time.
Blocking your squares
Blocking simply means shaping and flattening your finished squares so their edges are crisp before you join them. A light steam block (steam iron held just above the yarn, never pressed directly on it) or a wet block, where you dampen the square, pin it to size, and let it air dry, will square up wonky edges and sharpen your corners. It’s not strictly required, but I always notice a difference in how finished a project looks once the squares have been blocked.
What to make with your granny squares
A single granny square makes a sweet coaster. A few dozen, joined together, become a blanket, a bag panel, or a garment piece. If you enjoy the texture and want to explore beyond the classic version, it’s worth browsing some textured crochet patterns that build on the same cluster-and-chain logic with bobbles, puffs, and post stitches. And once you’re hooked, there’s a whole world of more crochet projects to keep your hands busy.
Frequently asked questions
How many rounds should a granny square have?
It’s up to you and the size you want. Many patterns use 4 to 6 rounds for a medium square (roughly 5 to 7 inches), but you can stop after 2 rounds for a coaster or keep going for a larger blanket panel.
Why does my granny square look wavy or ruffled instead of flat?
A wavy edge usually means your corners have too many stitches relative to your sides, or your tension is looser at the corners than along the sides. Double-check you’re working exactly 3 double crochets into each corner space, and keep your tension consistent as you turn each corner.
Can I crochet a granny square left-handed?
Absolutely. The stitch pattern is identical; you’ll simply mirror the hand positions, holding the hook in your left hand and working in the opposite rotational direction. Many video tutorials, including left-handed versions of popular ones, can help you see the mirrored motion clearly.
I hope this walk-through takes some of the mystery out of the classic granny square and gets you excited to make your first stack of them. Take your time with round one, let your stitches feel a little uneven at first, and trust that they’ll get more consistent with every square. I’d love to hear how your first one turns out, so keep that hook moving and enjoy the process.