Easy Crochet Beanie for Absolute Beginners (With Video)
A beanie is easier than it looks. Watch the tutorial, then use my sizing tips and fixes to make one that fits.

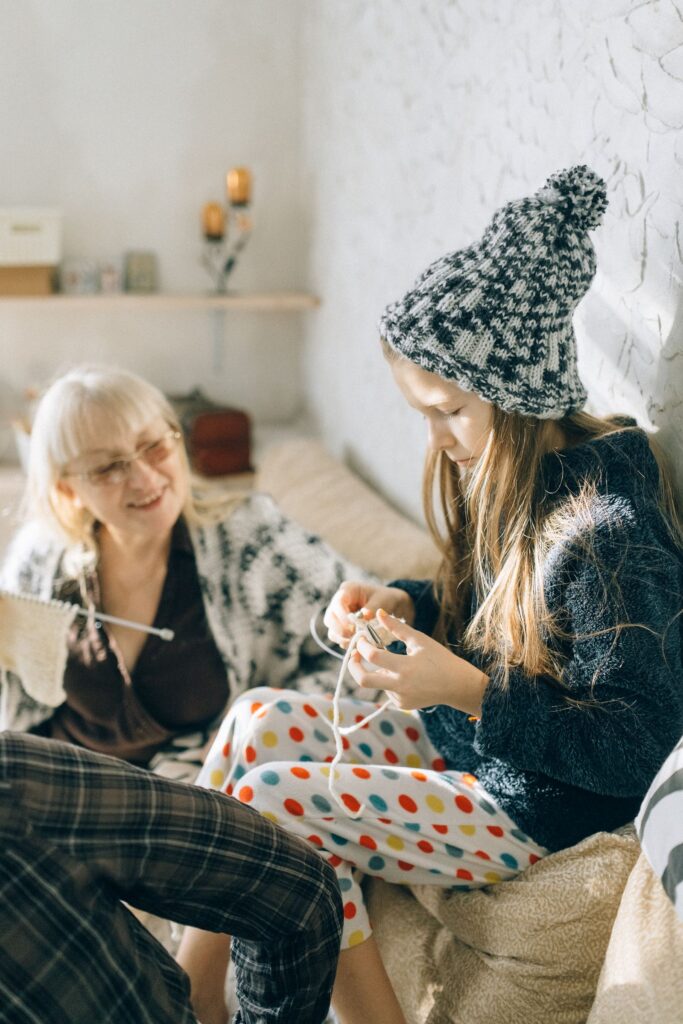
Hats scared me for years. I assumed shaping a crown would need math and patience I did not have. Then I made a simple beanie from a rectangle and a seam, and realized there are far easier roads than I had imagined.
Jump to section
A beginner beanie does not need fancy increases or decreases. Many easy versions are worked flat or in a tube with just a few basic stitches, then cinched closed at the top. You can finish one in an afternoon, and it is a wonderful gift.
The tutorial below comes from Cherilyn Q, who made an easy crochet beanie aimed at absolute beginners. Watch it to see the stitches and the closing step in action. Afterward I will share how I pick yarn, size the hat, avoid the common problems, and finish it neatly.

Yarn, hook, and sizing
A beanie lives on your head, so softness matters. Choose yarn you would be happy to wear against your forehead.
- Worsted or bulky yarn in a soft fiber. Acrylic blends are easy to wash, and many wool blends feel cozy. Check that the yarn is not scratchy against your skin.
- A hook suited to the yarn. Use the suggestion on the label, then go up a size if your fabric feels stiff. A beanie needs a little stretch.
- A tape measure. Measure the head you are making for, around the widest part of the forehead.
- A yarn needle, scissors, and a stitch marker.
As a general guide, a beanie should be a bit smaller than the head circumference so it stays snug. Crochet has some stretch, but the exact amount depends on your stitch and yarn, so make a small swatch and test it before you commit.
How to crochet an easy beanie
Methods vary, so follow the video for the exact stitches. This is the general idea, in my own words.
- Measure the head and plan your size. Chain enough stitches to create the width or circumference your method calls for.
- Work rows or rounds of a simple stitch, such as single crochet or half double crochet, until the piece is the height you need. A beanie is usually around eight inches from brim to crown for an adult, but fit varies.
- If you worked a flat rectangle, seam the two short edges together to make a tube.
- Gather the top edge with a running stitch through the stitches, pull tight, and secure the ends to close the crown.
- Weave in all ends, then add a cuff, pom-pom, or fold at the brim if you like.
If your pattern works in the round from the top, start with a magic ring and increase evenly until the circle matches the width of the head, then work straight down without increasing. The bucket hat tutorial on this blog uses a similar crown-and-sides logic.
Tips for a beanie that actually fits
- Try it on as you go. Hold the piece against the head before you seam or close it. It is easy to add a row and painful to undo a finished hat.
- Keep your gauge loose. A tight hat rides up and squeezes. Loose stitches drape and stretch.
- Match the stitch to the season. Denser single crochet blocks wind, and taller stitches feel lighter and stretchier.
- Add ribbing or a folded cuff for extra stretch where the hat sits on the head.
- Weave ends in twice. Hats get pulled on and off a lot, so loose tails can work their way out.
If you want to add some character, my guide to textured crochet patterns has stitch ideas that look great on a hat.
Common mistakes and how to fix them
The hat is too tight. Redo it with a bigger hook, or add a few chains to the starting length. Checking against the head mid-way avoids this.
The hat is too loose. Work a snug ribbed cuff, or weave a strand of yarn through the brim and tighten it gently. For the next hat, use fewer stitches or a smaller hook.
The crown has a gap. When closing the top, pass the yarn through every stitch of the last round and pull firmly. If there is still a gap, stitch across it and secure.
The seam is bulky. Use a flat slip stitch seam or a mattress stitch on the inside edges, and keep the yarn relaxed.
Stitch count keeps changing. Count your rows and mark the first stitch. If you are working in the round, always mark where each round begins.
Variations and ideas
- Add a pom-pom made from yarn scraps, or a faux fur one for a winter look.
- Stripe the hat in two or three colors, changing at the end of a round.
- Make a slouchy beanie by adding extra rows before closing.
- Stitch a matching easy crochet tote bag for a set.
- Make a small size for a baby, and pair it with crochet baby booties for a sweet gift.
Finishing and care
Weave in every tail with a yarn needle, tucking them into the fabric for a couple of inches. A quick steam or damp block helps settle the stitches and smooth the brim. Shape the hat over a bowl or a balled-up towel to dry in a nice rounded shape.
Wash according to the yarn label. Many acrylic beanies can be hand washed and air dried, while wool should be handled gently to avoid felting. If the hat is for a baby, choose a soft washable yarn and make sure any pom-pom is attached very securely, or leave it off.
Frequently asked questions
What is the easiest crochet beanie for beginners?
A hat made from a simple rectangle in single or half double crochet, then seamed and gathered at the top, is very beginner-friendly. There is no shaping to worry about.
What yarn is best for a crochet beanie?
A soft worsted or bulky yarn works well. Acrylic blends are easy to wash, and wool blends are cozy. Always choose something that feels gentle against the skin.
How do I know what size to make?
Measure around the head where the hat will sit, then aim for a bit smaller than that so it stays snug. Make a swatch and test it against the head before you finish.