Easy Crochet Scarf for Beginners: A Step-by-Step Guide
A scarf is the perfect first crochet project. Follow the video, then use my tips for straight edges, cozy drape, and easy variations.

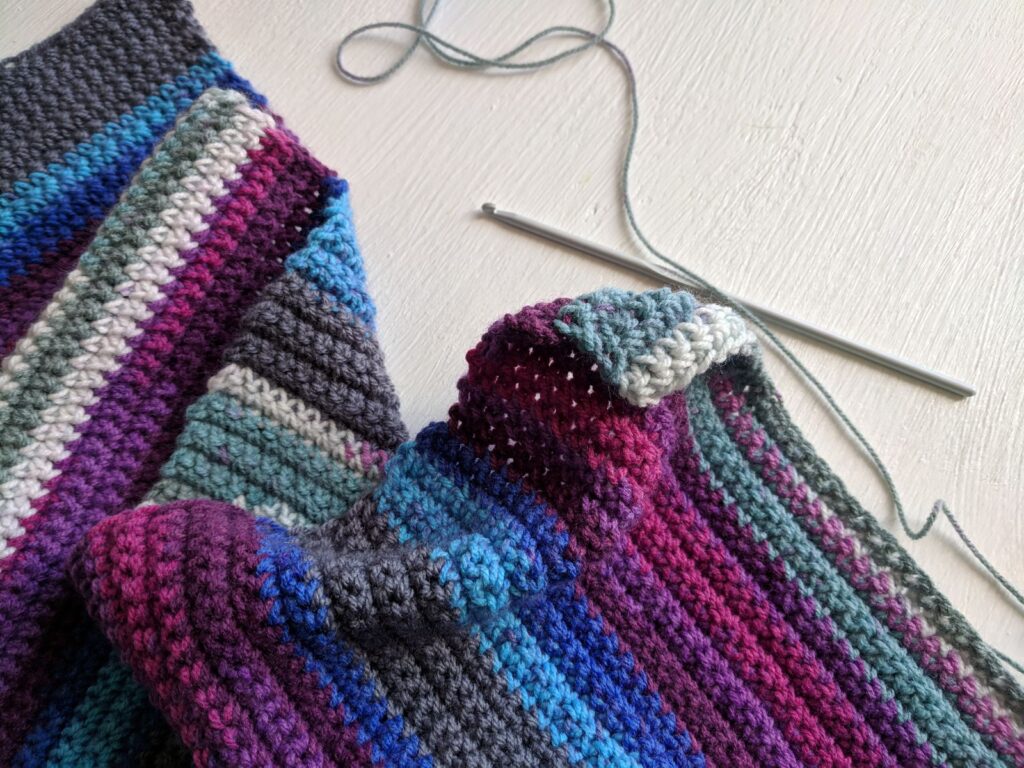
My very first finished crochet project was a scarf, and it was wonky. One end was wider than the other, the edges wavered like a cartoon road, and I had somehow gained eleven stitches along the way. I wore it anyway, proudly, for an entire winter.
Jump to section
A scarf is still the best first project I know. It is a long rectangle, so you never have to shape anything. You learn to chain, to make one simple stitch, and to keep your edges straight, and by the end you have something you can actually wear or gift.
The video below is a basic beginner scarf tutorial from AllFreeCrochet. They walk through the whole thing slowly, so you can follow along stitch by stitch. After you watch it, read on for my thoughts on yarn, sizing, the mistakes that catch everyone, and ways to make your scarf look more interesting.

Yarn and hook for a beginner scarf
Choosing materials well is half the battle. A scarf uses a lot of yarn, and you will be handling it for hours, so it is worth picking something pleasant.
- Worsted or bulky yarn. It is thick enough to show your stitches and to grow quickly. Bulky yarn finishes fastest, which is great for motivation.
- A soft, smooth yarn in a solid color. Solid colors make each stitch easy to see, so you catch mistakes early. Skip anything splitty or very fuzzy for now.
- A hook one size up from the label suggestion if your stitches feel tight. A scarf should drape, not stand up like a board.
- A yarn needle and scissors for finishing.
Check the yarn label for washing instructions if the scarf is a gift. Machine washable acrylic blends are practical, and wool feels wonderful but needs more care.
How to crochet the scarf, step by step
There are a few ways to build a beginner scarf, and the video shows one straightforward approach. Here is the general method in my own words.
- Make a slip knot and chain a foundation row. For a scarf about six inches wide in worsted yarn, somewhere around 25 to 30 chains is a common starting point. Adjust to get the width you like.
- Work the first row into the foundation chain, stitch by stitch, making sure you do not skip the first chain or twist the chain.
- Turn your work at the end of the row and add the turning chain your stitch needs.
- Work across the row again, placing one stitch into each stitch below. Do not stitch into the turning chain unless your chosen stitch calls for it.
- Keep repeating rows, counting your stitches every few rows, until the scarf is as long as you like.
- Fasten off, leaving a tail, and weave in both ends.
Most people make a scarf between five and six feet long, but there is no rule. Measure it against yourself and stop when it feels right. A shorter scarf is great for layering under a coat.
Tips for straight, even edges
- Count your stitches. Count at the end of every row for the first few rows. This single habit prevents the wonky-triangle scarf.
- Find the first and last stitch. The top of the last row often hides the first stitch of the next one. Look for the V shape at the start of each row.
- Keep your tension relaxed. If your hands ache, you are pulling too tight. Loosen your grip and let the yarn flow.
- Use a stitch marker in the first stitch of a row if you keep losing it.
- Take photos every foot or so. It is nice to see your improvement over the length of the scarf.
If you like a little more texture once you feel confident, my post on textured crochet patterns has simple stitch ideas that work well for scarves.
Common mistakes and how to fix them
The scarf gets narrower. You are skipping the last stitch of the row. Add a marker to the final stitch and always work into it. If it is only a few rows, pull them out and redo them.
The scarf gets wider. You are adding an extra stitch, often by working into the turning chain when you should not. Again, count and recheck.
The fabric is too stiff. Switch to a larger hook or loosen your tension. Stiff fabric is the number one reason beginner scarves feel more like a cardboard strip.
The edges look bumpy. This is normal at the beginning. It improves with practice. A light steam or a gentle block at the end tidies a lot of it.
You ran out of yarn mid-row. Join a new ball at the end of a row if possible, and weave both tails in well.
Ideas to make it your own
- Switch colors every few rows for stripes. Carry yarn up the side, or cut and weave in if you prefer neat edges.
- Add fringe to each end by cutting lengths of yarn, folding them, and pulling them through the edge.
- Try a half double crochet scarf for a softer drape than single crochet.
- Make a wide scarf and join the ends to create a cozy infinity cowl.
- Use the same yarn to make a matching hat or cowl for a full set.
If you enjoy the rhythm of working a simple repeat, you will also like the granny square, which is another classic beginner project and works beautifully as a scarf when you join several in a row.
Finishing and caring for your scarf
Weave in your ends with a yarn needle, running them through the stitches along the edge for a few inches, then trim. Give the scarf a gentle blocking by lightly dampening it or steaming it, smoothing it flat, and letting it dry. This relaxes the stitches and evens out the width.
Follow the yarn label for washing. Many acrylic scarves can be hand washed and laid flat to dry. Wool should be washed with care and never wrung out. A scarf that has been looked after will last for years and soften with wear.
Frequently asked questions
How many chains do I need for a beginner scarf?
It depends on your yarn and hook. With worsted yarn, about 25 to 30 chains gives a scarf around six inches wide. Make a short swatch first to check the width you like.
What is the easiest stitch for a scarf?
Single crochet is the simplest and gives a dense, tidy fabric. Half double crochet is slightly faster and drapier. Both are great for beginners.
How much yarn does a scarf take?
It varies with width, length, and yarn weight, so check the yarn label and your pattern. It is always smart to buy an extra ball so you do not run out near the end.