How to Crochet a Bucket Hat: Easy Beginner Guide
Learn how to crochet a bucket hat step by step: materials, crown, sides, brim, sizing tips, blocking, and common mistakes for US beginners.

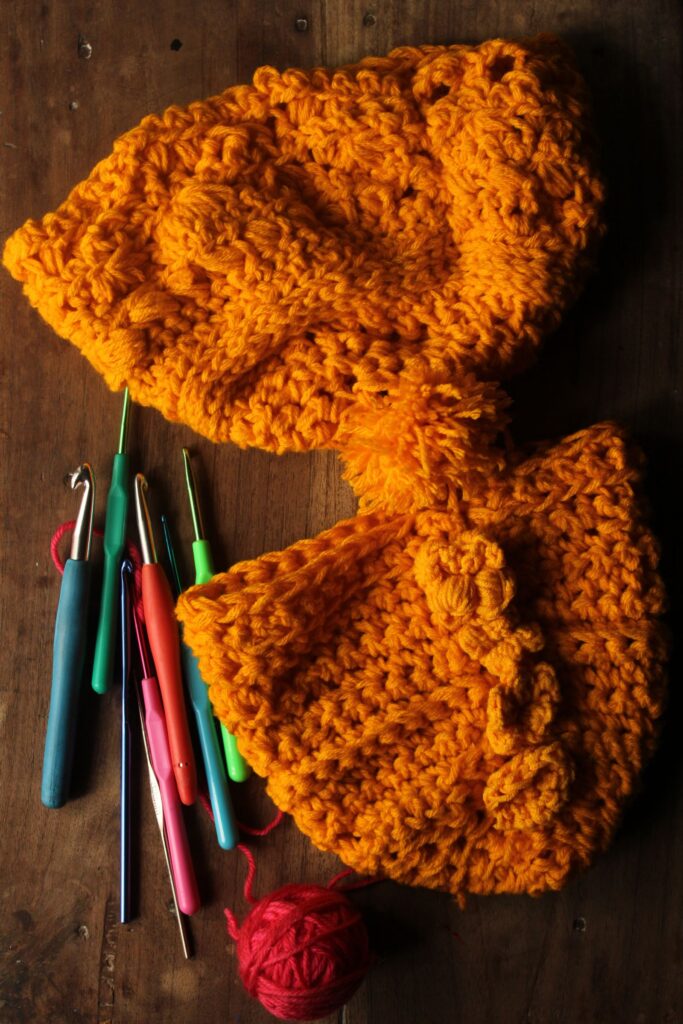
Last summer I stood in a store holding a $28 bucket hat that fit my head about as well as a mixing bowl, and I thought, I could make this. Two evenings and one very lopsided first attempt later, I had a hat that actually fit, in a color I picked myself. A crochet bucket hat looks fancy, but it is really three simple shapes stacked together: a flat circle, a tube, and a wide ring.
Jump to section
If you can make a circle and follow a stitch count, you already have most of what you need. This guide walks through the materials, the construction, sizing, and the mistakes I made so you do not have to. I am not going to hand you one rigid pattern here. Instead, I want you to understand how the hat works, so any pattern you pick up will make sense.
For a visual walkthrough, VivCrochets’ tutorial below is a friendly place to watch the motions in real time.

Materials for a crochet bucket hat
You do not need much, which is part of the charm. Here is what I keep on hand for hats:
- Yarn: A worsted weight (medium, category 4) is the easiest starting point. For summer hats, cotton or a cotton blend gives a crisp shape that holds up. For cooler weather, choose acrylic or a wool blend. Avoid very fuzzy yarns at first, because they hide your stitches.
- Hook: Most worsted yarn works with a 4.0 to 5.5 mm hook (roughly G to I). Hats need a fairly tight fabric so they stand up on their own, so go down a size from what the yarn label suggests.
- Stitch marker: Essential. Because you work in a spiral, a marker tells you where each round begins. A bobby pin or scrap of contrasting yarn works fine.
- Tapestry needle and scissors: For weaving in ends.
- Tape measure: For your head, and for checking the crown as it grows.
Plan on about 150 to 250 yards of worsted yarn for an adult hat, depending on brim width. Buy an extra skein if the color is a dye lot you cannot easily match later.
Skills you need before you start
Nothing here is advanced, but three skills are worth practicing first. Here are the abbreviations in US terms, explained once: ch is chain, sc is single crochet, hdc is half double crochet, and inc means an increase, two stitches worked into one.
- Magic ring: A adjustable loop that lets you start a circle with no hole in the middle. If it frustrates you, chain 2 and work your first round into the second chain from the hook instead. It is a perfectly good substitute.
- Single crochet and half double crochet: Most bucket hats use one or the other. Single crochet makes a dense, sturdy fabric. Half double crochet is faster and a little softer.
- Increases: Working two stitches into one stitch to widen the fabric. This is what makes a flat circle instead of a curled bowl.
If circles are new to you, working through a granny square first is great practice for counting rounds and turning corners. My granny square guide covers that, and it teaches you to read your stitches, which pays off here.
How a bucket hat is built
Nearly every bucket hat follows the same three-part structure. Once you see it, patterns stop feeling mysterious.
1. The crown (flat circle)
You begin with a magic ring and work in continuous rounds, adding stitches evenly in each round. A flat circle needs increases spaced consistently, so the circle grows like a pie chart with evenly spaced wedges. Keep going until the flat circle is as wide as the top of your head. For most adults, that is around 6 to 7 inches across, but measure yours.
If the circle starts to ruffle like a potato chip, you have too many increases. If it cups upward like a bowl, you have too few. Adjust the next round and keep going. Small corrections early save you from pulling everything out later.
2. The sides (the tube)
Now you stop increasing entirely. Work one stitch into each stitch of the previous round, round after round, and the fabric turns upward into a cylinder. This part is relaxing, almost meditative, and it is where your stitch marker earns its keep. Work until the sides are about 3 to 4 inches tall, or until they reach where a hat would sit at the top of your ear. Try it on as you go.
3. The brim (the wide ring)
For the brim, you begin increasing again, spacing the increases so the fabric flares outward and lies flat. A narrow brim needs fewer rounds, while a wide floppy brim needs more. Two to four rounds is common for beginners, and a slight downward slope is normal and flattering. Finish with a round of slip stitches or a plain sc round for a clean edge.
Sizing: getting a hat that actually fits
Bucket hats are forgiving, but a little math keeps you from ripping out three hours of work.
- Measure your head: Wrap a tape measure around the widest part, just above your eyebrows and ears. Adult heads commonly fall between 21 and 23 inches, but yours may differ.
- Make a gauge swatch: Crochet a small square in your pattern stitch, measure how many stitches fit in 4 inches, and compare it to the pattern. If you have more stitches than the pattern says, your hook is too small, and vice versa.
- Check the crown early: Divide your head circumference by about 3.14 to estimate the diameter the flat circle should reach before you start the sides.
- Aim slightly snug: Crochet stretches a little with wear, and a hat that fits perfectly on day one may feel loose by week two.
Textured stitches change gauge, so if you plan to use one, swatch again. You can find ideas in my post on textured crochet patterns.
Finishing and blocking
Weave in your ends carefully, splitting the yarn strands rather than running them straight, so they do not poke out. Then block the hat. For cotton or acrylic, lightly mist it with water, shape it over a bowl or a balanced mixing bowl that matches your head size, and let it dry completely. Wool blends can take a gentle damp block. Follow the care label on your yarn, and skip steam on acrylic, which can flatten it permanently.
If you want a stiffer brim, some makers slip in a strip of plastic canvas or use fabric stiffener, but a tight gauge often gives enough structure on its own. I would try it without stiffener first.
Variations to try
- Colorblock: Change color at the start of the sides or the brim for a bold two-tone hat. Carry the new color cleanly by changing on the last pull-through of the final stitch.
- Stripes: Two-round stripes are beginner friendly and use up leftover yarn. Because you work in a spiral, you may notice a small jog where colors change, and that is normal.
- Reversible: Make two thin hats in different colors, then join them at the brim edge so you can flip it for a new look. This uses more yarn, so plan ahead.
- Textured brim: Use ribbing or a bobble stitch on the brim only, keeping the crown plain and easy.
Common mistakes to avoid
- Skipping the stitch marker: Without it, you lose your place in the spiral and the increases drift out of line.
- Not counting stitches: Count at the end of every crown round. It takes seconds and prevents the ruffle-or-cup problem.
- Using a hook that is too big: A loose fabric will sag into a floppy shape that never holds up.
- Making the crown too small: The hat then sits like a beanie perched on top of your head. Check it against your head measurement.
- Skipping the try-on: Check fit at the end of the crown, after the sides, and before finishing the brim.
If you want a simple accessory to make next, browse my crochet pillow ideas for another beginner-friendly project that uses the same basic stitches.
Frequently asked questions
How long does it take to crochet a bucket hat?
For most beginners, a simple bucket hat takes a few evenings, roughly 4 to 8 hours of work depending on your speed, yarn weight, and brim size. Your second hat will go noticeably faster than your first.
What is the best yarn for a beginner bucket hat?
A smooth, light-colored worsted weight cotton or cotton blend is my pick. It shows your stitches clearly, holds its shape, and feels comfortable in warm weather. Smooth acrylic is a budget-friendly alternative.
Can I make a bucket hat without a magic ring?
Yes. Chain 2 and work your first round of stitches into the second chain from the hook, or chain a few stitches and join them into a small ring. You may end up with a tiny hole at the center, which is easy to close by cinching the yarn tail with your needle.