Ombre Nails with a Sponge: Easy Gradient, Regular Polish
Sponge ombre nails give a soft gradient with nothing more than regular polish. Here is how I do it, and how to fix the messy parts.

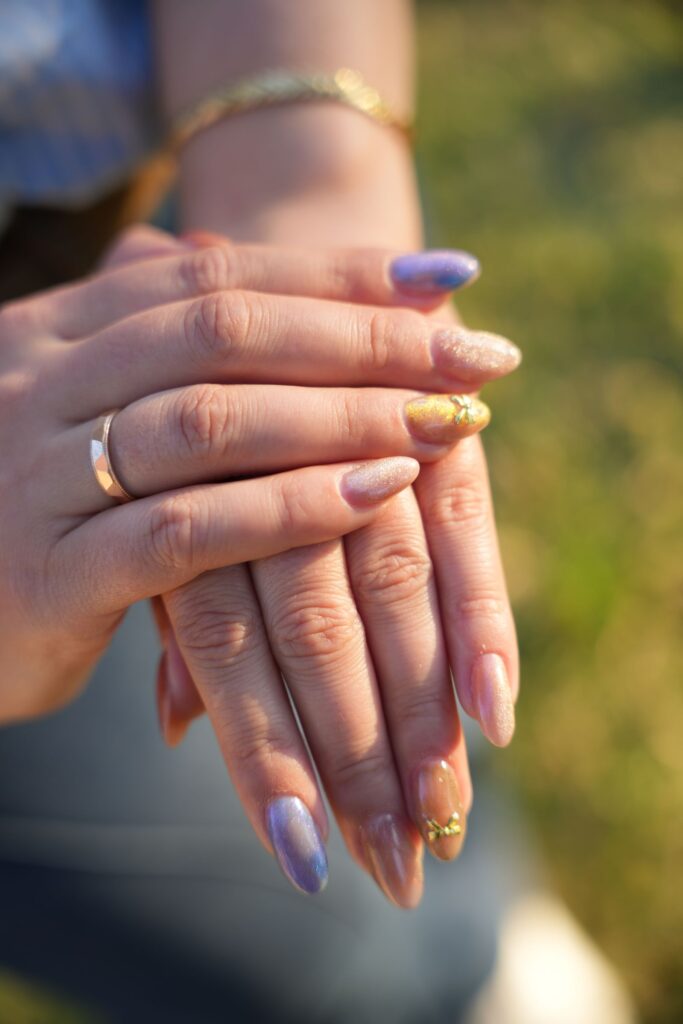
Ombre nails are the soft, blended look where one color fades into another, and they are a favorite for a reason. They look polished and a little dreamy, but they are not difficult.
Jump to section
The trick is that you do not blend with a brush at all. You dab two or more polishes onto a sponge and press it onto the nail, and the sponge does the blending for you. It takes patience more than talent, and it works with the regular polish you already own.
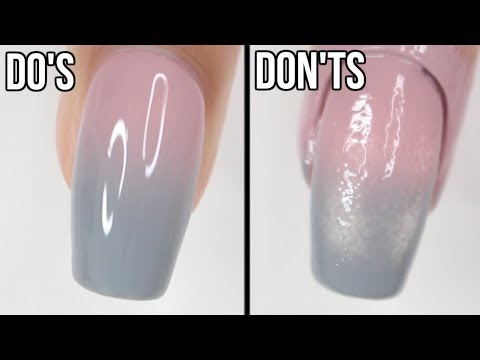
Gabby Angelique made a very helpful do and don’t tutorial on this exact technique, and I am linking it below. Watch it, then read my notes on supplies, the step-by-step method and what to do when the gradient gets streaky or the mess gets out of control.
What you need for sponge ombre
You do not need a big kit:
- A base coat and a good top coat.
- Two or three polishes that look nice together. Neighboring shades, such as pink and coral, blend the easiest.
- A white or cream polish as an underlayer, which makes the colors pop if your shades are sheer.
- A makeup wedge sponge or a small piece of a cosmetic sponge. A fine, tight texture gives the smoothest blend, while a coarse one leaves a spotty look.
- Scrap foil, paper or a plastic lid to use as a palette.
- Cotton swabs, a small brush and polish remover for cleanup.
- Optional: tape or liquid barrier around the skin so you can peel away the mess.
If you are still getting comfortable painting your own nails, my post on doing a manicure at home covers the basics of shape and prep.
Step by step: the sponge method
- Prep your nails by shaping, buffing lightly and wiping them clean.
- Apply base coat and let it dry.
- Paint one or two thin coats of white or your lightest shade and let them dry fully. This underlayer keeps the gradient bright.
- Paint stripes of your chosen colors side by side on the sponge, with the colors touching a bit in the middle.
- Dab the sponge onto the nail in quick, gentle presses. Start near the tip and work toward the middle, and keep the dabbing light.
- Reload the sponge each time or every other time, and press again to build color slowly.
- Let the gradient dry, then clean up the skin with a brush dipped in remover.
- Seal with a thick layer of top coat to smooth out the texture.
Do and don’t tips that save your nails
- Do work on one nail at a time, because the polish on the sponge dries fast.
- Do use a fresh area of the sponge for each color pass when the sponge gets clogged.
- Do dab lightly. Too much pressure flattens the gradient and leaves harsh lines.
- Don’t use polish that is old or goopy, since thick polish will not blend well.
- Don’t skip the white underlayer if your colors are pastel or sheer.
- Don’t wait too long between dabs, because dried polish will not blend into the next layer.
Common mistakes and quick fixes
- Harsh line between colors: dab more in the middle, or go back and press the sponge across the line a few times.
- Bubbly or textured finish: the sponge was too coarse or too wet. Use a finer sponge and a thick top coat to level the surface.
- Colors look muddy: choose colors that sit near each other on the color wheel, or add a bit of white between strong contrasts.
- Polish all over the skin: apply a barrier such as liquid latex or tape before you start, then peel it away. If you did not, clean up with a brush and remover afterward.
- Gradient looks patchy: build color in thin layers instead of trying to do it in one press.
Color and variation ideas
Here are some combinations that blend well:
- Pink to peach for a sunset look.
- White to soft blue for a cloud gradient.
- Lilac to rose for a spring manicure.
- Natural nude into white tips, which is a soft cousin of the white French tip.
- A glossy milky white over the gradient for a dreamy effect, like glazed donut nails.
You can also try a reverse ombre, with the color at the cuticle fading to clear at the tip. Another idea is a full-nail gradient on only your ring fingers, leaving the rest in a solid shade.
The fun part of sponge ombre is that no two sets come out the same. A slightly uneven blend just looks like a soft wash of color, so do not chase perfection. Try swatching your colors on a scrap of paper first, because it shows how they mix before you commit them to a nail. If a pair turns muddy, swap one of the shades for a lighter relative and try again. I keep a small note on my phone with the combinations that worked, so I can repeat a favorite later without guessing.
How to make ombre nails last
Top coat is the finishing move. Apply a generous layer and cap the free edge so the gradient is fully sealed. Add a thin fresh layer every few days to keep the shine, and wear gloves when you do dishes or use cleaning products.
Use cuticle oil each day to keep your nails from drying out. When you remove the polish, use a gentle remover in a ventilated space away from flames, and give your nails a rest afterward.
Frequently asked questions
What kind of sponge works best for ombre nails?
A fine-textured makeup wedge gives the smoothest gradient. Coarse or very open sponges leave a spotty finish, so pick a tight, soft one, and cut it into small pieces.
Can I do ombre with only regular polish?
Yes. Regular polish works well if you dab quickly while the polish is still wet. Start from a white or light base so the colors look bright.
How do I stop the polish from staining my skin?
Put tape or a liquid barrier around the nail before you start, then peel it away when you finish. You can also clean the edges with a small brush dipped in remover.