Gel Nails at Home for Beginners: A Simple Step-by-Step Guide
A gel manicure at home is very doable on natural nails. Here is my beginner routine, with the supplies, the order of steps and the mistakes to skip.

A gel manicure at home can feel intimidating at first. There is a lamp, a bottle of things with different names, and the fear that you will end up with lumpy, peeling nails and a messy sink.
Jump to section
I felt the same way, but the process is actually calm and predictable once you know the order. You prep, you apply thin layers, you cure each one, and you seal the edges. That is really all it is.
For this guide I leaned on a gentle, clear video from Create Your Space, whose tutorial on a gel manicure on natural nails is below. Watch it through once, then come back for my supply list, the routine I follow and the mistakes I made so you can skip them.

What you need for a gel manicure
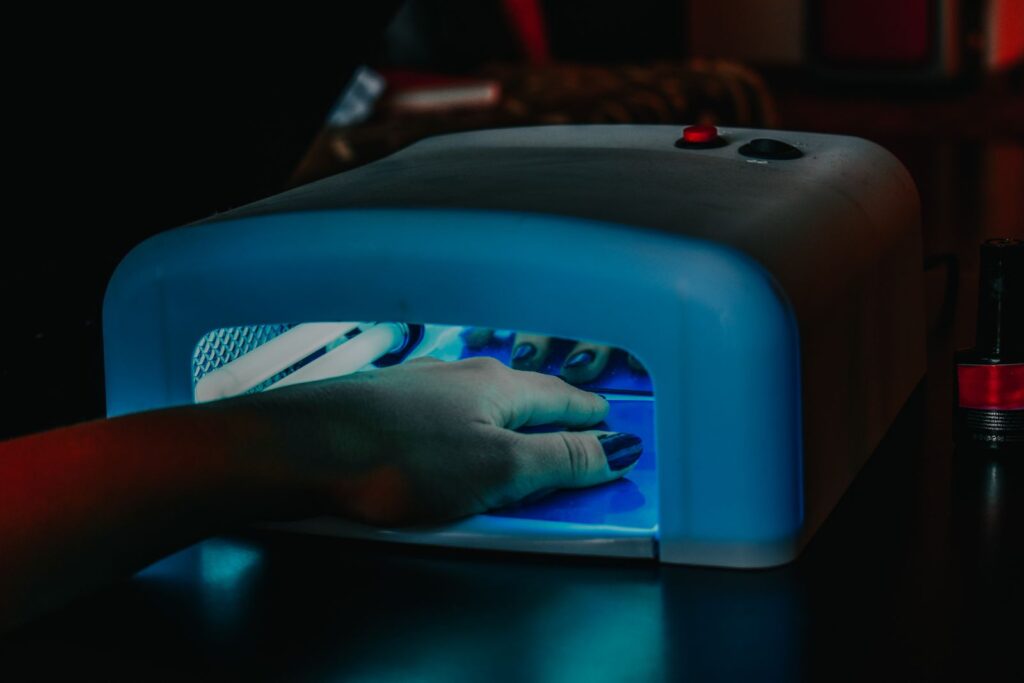
Gel polish only hardens under a lamp, so the kit looks a little different from regular polish. Here is a beginner list:
- An LED or UV lamp that is made for gel polish. Check that your polish and lamp are compatible, since curing times vary by product.
- Gel base coat, gel color and gel top coat, ideally from the same brand so they work well together.
- A nail file and a soft buffer block.
- A cuticle pusher and cuticle oil.
- Lint-free wipes and isopropyl alcohol or a cleanser made for gel.
- A small, tidy work area with good light.
If you have never done any at-home polish at all, it is worth reading how to do a manicure at home first, because nail shape and cuticle care matter just as much here.
Prep your natural nails
Good prep decides whether your gel lasts for days or chips in two. Do it in this order:
- Wash and dry your hands well. Oil and lotion are the enemies of adhesion.
- File your nails into the shape you like.
- Gently push back the cuticles and remove any loose skin. Do not cut living skin.
- Lightly buff the shine off the surface of each nail, without pressing hard.
- Wipe each nail with a lint-free wipe and cleanser so there is no dust or oil.
Step by step: the gel routine
- Apply a very thin coat of gel base coat. Keep it off the skin and cuticles, and cap the free edge by running the brush along the tip.
- Cure the base under the lamp for the time given on your bottle.
- Apply a thin coat of gel color. It should look a little sheer, and that is fine.
- Cure, then apply a second thin coat of color and cure again. Some shades need a third, but thin beats thick every time.
- Apply gel top coat, cap the tip once more and cure.
- If your top coat leaves a sticky layer, wipe it off with a wipe and cleanser. Some top coats are no-wipe, so follow the instructions.
- Finish with a drop of cuticle oil, which also helps the skin around your nails look fresh.
Beginner tips that helped me
- Thin layers cure properly and stay flexible. Thick layers can stay soft inside and peel.
- Keep gel off your skin. If gel touches the skin and is cured, it can lift and irritate. Use a small brush and a little cleanser to tidy edges before curing.
- Do your thumbs separately if your lamp does not light them evenly, then cure them on their own.
- Store your bottles away from sunlight, since light can harden gel inside the bottle.
- Wear good light and work slowly. Rushing is the number one cause of flooded cuticles.
If you want a simple pretty look to start, a sheer pink or neutral hides small flaws and grows out gracefully. My simple white nail designs are also great first projects to try with a gel base.
Common mistakes and quick fixes
- Gel wrinkles after curing: the coat was too thick. Use thinner layers and cure a little longer.
- Gel lifts at the edges: the nail was not prepped well or gel touched the cuticle. Clean, buff and leave a hair’s breadth gap from the skin.
- Sticky surface after the top coat: you may need to wipe it, or your lamp may be too weak. Replace aging lamp bulbs or use the recommended time.
- Streaky color: shake or roll the bottle gently and apply thinner coats.
- Skin irritation: stop using the product and avoid contact with skin. Always follow the manufacturer’s safety advice, and if you are unsure whether a product suits you, ask a professional.
Fun variations once you are comfortable
After a few plain manicures, you can start adding small details:
- A glossy neutral with a tiny accent stripe.
- A milky white base layered with a sheer pink, similar to the trendy glazed donut look.
- A classic French tip drawn on top of a sheer base.
- A cat eye effect using a magnetic gel polish.
Because each layer cures under the lamp, you can correct mistakes before moving on, and that makes gel a really forgiving way to learn nail art.
Making gel nails last, and taking them off safely
Give your nails a minute to cool after the last cure, and avoid using them as tools. Wear gloves for cleaning and use cuticle oil daily so your nails stay flexible and do not dry out.
When you are ready for a change, do not peel the gel off, since peeling takes layers of your natural nail with it. Follow the removal method recommended for your product, and let your nails rest for a short time between sets. Use remover in a ventilated room, away from flames, and keep all products away from children and pets. Check your lamp instructions for safe use and follow them.
Frequently asked questions
Do I need a lamp for gel polish?
Yes. Gel polish only hardens under an LED or UV lamp, so a lamp that suits your products is essential. Check the curing times on your bottles to match them to your lamp.
How many coats of gel color should I use?
Usually two thin coats. Some deeper or sheerer shades need a third, but the main rule is to keep each coat thin and cure each one fully before moving on.
Is gel bad for natural nails?
Gel itself is not a problem for most people when it is applied and removed gently. The damage usually comes from peeling or filing too aggressively. Prep softly, never peel, and give your nails breaks when they feel dry or thin.