Nail Stamping for Beginners: Tips for Crisp, Perfect Designs
Nail stamping gives you detailed designs in seconds once you learn the rhythm. Here is my beginner routine and the fixes for faded prints.

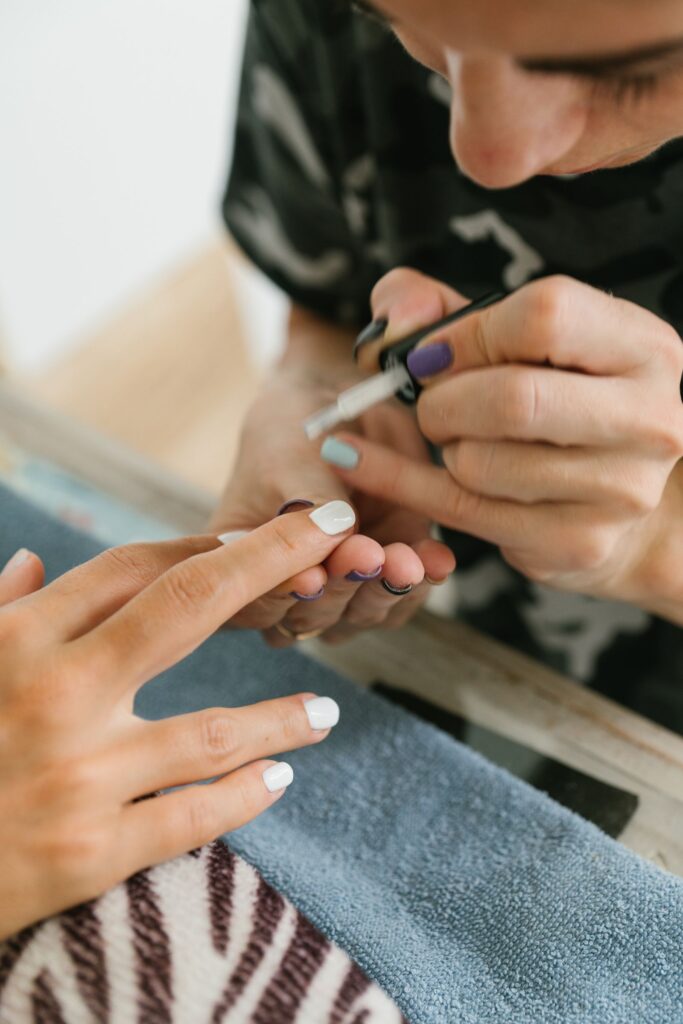
Nail stamping is the trick behind those tiny, perfect patterns that would take an hour to paint by hand. You fill an engraved plate with polish, pick up the image with a soft stamper and press it onto your nail.
Jump to section
When it works, it is wonderfully satisfying. When it does not, you get a faint smudge and a lot of confusion. I had plenty of smudges at first, and I wrote down exactly what fixed them.
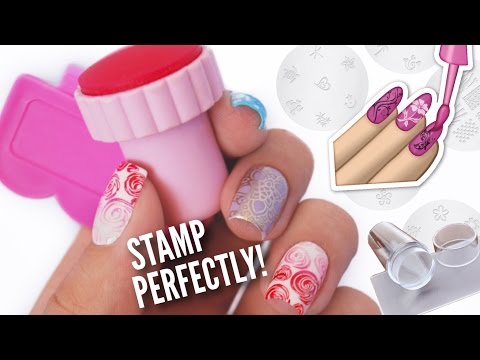
The video I recommend is from cutepolish, a detailed tutorial with hacks and tips for stamping perfectly, and you will find it below. Watch it once, then use the notes here for my supply list, the method I follow and a short troubleshooting guide.
What you need to start stamping
The kit is small, and most of it is reusable:
- A stamping plate with engraved designs. Start with a plate that has simple shapes and thin lines.
- A stamper with a soft, slightly squishy head, and a scraper card.
- Stamping polish or a thick, highly pigmented regular polish. Sheer polish usually will not transfer well.
- A base color, plus base coat and top coat.
- Nail polish remover and lint-free wipes for cleaning the plate and stamper.
- Some tape or a sticky note, which can pick up fuzz from the stamper.
Stamping works best over a base that has fully dried, so try it on a smooth, simple manicure like the one in my manicure at home guide.
Step by step: your first stamp
- Paint your nails with base coat and a color, then let them dry completely. A quick-dry top coat over the base can help the stamp lift cleanly.
- Wipe the plate with remover so it is free of dust or old polish.
- Put a line of stamping polish across the design you want to use.
- Scrape it quickly and firmly at a steep angle. Pull the polish across the plate in one fast swipe, leaving polish only in the engraved lines.
- Roll the stamper over the design right away. Do not wait, because the polish dries fast.
- Roll the stamper onto your nail from one side to the other. Use a gentle rocking motion so the image transfers fully.
- Clean up any edges with a small brush dipped in remover.
- When the pattern is dry, apply top coat with a light touch so you do not smear the pattern.
Tips for crisp transfers
- Work fast. The polish on the plate starts to dry within seconds, and dried polish will not pick up.
- Use a fresh surface of the stamper each time, and clean the head with tape between prints.
- Stamp the pattern across one nail at a time, instead of doing all ten at once on the plate.
- Choose a high contrast color, such as white on dark or black on pale, to make patterns visible.
- Practice on paper or a plastic swatch so your hand learns the roll.
- Seal with a gentle, floating top coat. Some top coats smear polish, so a no-smear formula or a quick-dry drop first can help.
Common mistakes and quick fixes
- Faded or patchy print: the polish is too thin or it dried before you picked it up. Switch to thicker polish and work quicker.
- Blurry image: too much polish is on the plate. Scrape firmly and use a clean plate each time.
- Half image on the nail: press and roll the stamper in a smooth rocking motion instead of a flat press.
- Design does not pick up: the stamper might be dirty or too stiff. Clean it with tape and remover, or try a softer head.
- Top coat smears the art: wait for the pattern to dry completely and float the top coat on with the brush without pressing.
Design ideas to try first
Beginners do best with designs that forgive small offsets:
- Tiny flowers over a pale pink base.
- Repeating dots or hearts on an accent nail.
- Lace patterns over a nude shade.
- Geometric lines across a tip.
- Spooky patterns for autumn, such as bats and webs, which pair well with the looks in my fall nail art designs.
Stamping also pairs well with smooth backgrounds, or over a simple white nail design where a tiny print adds detail without looking busy.
Keep a little notebook or photo album of the plates you own and the designs you like, because it saves time when you want to plan a manicure. Start with one stamped accent nail and leave the others plain. It looks tidy, it is forgiving if one print goes wrong, and it lets you practice the roll without committing ten nails to a pattern. Over time you will learn which polishes transfer best, how hard to scrape and how long your favorite brand stays workable on the plate, and that knowledge is what makes stamping feel effortless.
Cleaning your tools and keeping nails healthy
Clean the plate and stamper after each session with a little remover and a lint-free wipe. Store the plate flat and away from sunlight so the engraving stays sharp.
One more habit that helps: stamp in a room with steady light and no draft, and set out everything before you begin. When the scraper, stamper, remover and top coat are all within reach, you can move at the speed the polish demands. A little preparation removes most of the panic, and the panic is what causes most blurry prints.
Stamped nails wear like regular polish, so a good top coat, gloves for chores and a little cuticle oil keep them looking fresh. Remove the design with gentle remover in a ventilated area, away from flames and from children and pets.
Frequently asked questions
Can I use regular nail polish for stamping?
Sometimes, but it needs to be thick and very pigmented. Dedicated stamping polish transfers more cleanly, so if your prints are faint, try a stamping formula.
Why does my stamping design come out blurry?
Usually there is too much polish on the plate or the scraper is held at a shallow angle. Scrape firmly, keep the plate clean and stamp quickly after scraping.
Do I need a clear stamper or a solid one?
A clear stamper helps you see and place the design accurately, which is great for beginners. A soft, flexible head matters more than the color, so choose one that feels slightly squishy.