How to Crochet a Leaf: Easy Fall Crochet Leaf Tutorial
A crochet leaf is a quick, scrap yarn project that makes fall decor easy. Watch the tutorial and learn the method, fixes and ways to use them.

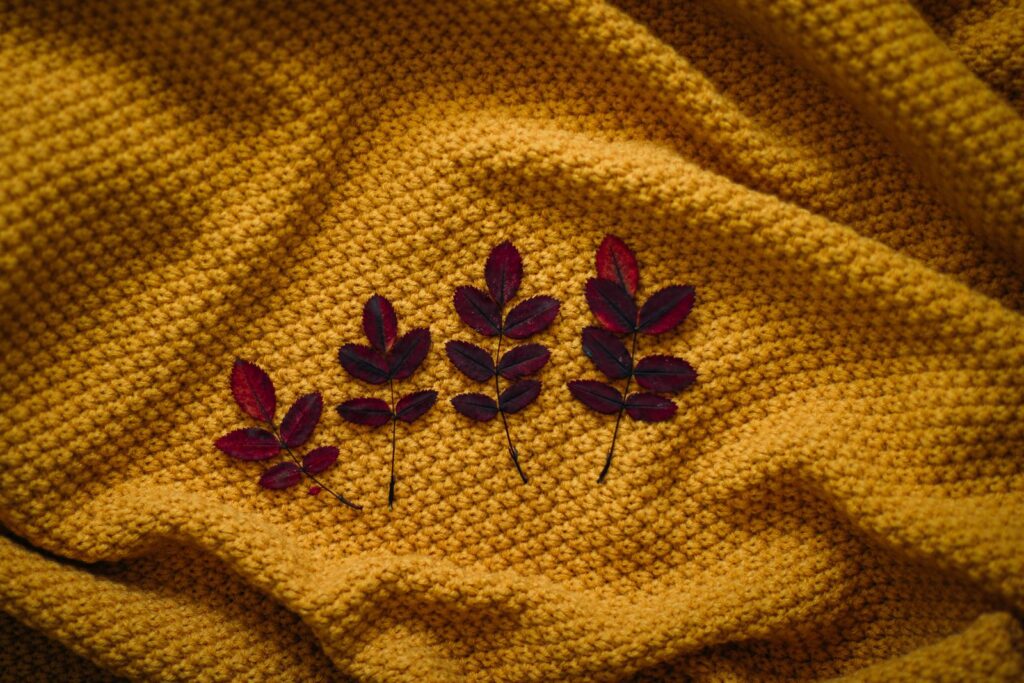
When the weather turns cool, I start wanting everything in rust, mustard and deep red. A crochet leaf is one of the easiest ways to bring that feeling indoors. It is a small project, it uses scraps, and it looks good on its own or grouped into something bigger like a wreath or a garland.
Jump to section
Leaves are also great practice. They use chains, slip stitches and a mix of shorter and taller stitches, and they shape themselves into a pointed oval almost by magic. Once you have made one, you can make them in any size or color.
The tutorial below is from NakhArt, who shows a crochet leaf that has been popular online. Their video is below, and here I will share what to gather, the general method, and some ways to use your leaves once you have a little pile of them.

Yarn, hook and supplies
Leaves are tiny, so the tools are minimal.
- Yarn: worsted weight cotton gives crisp, defined leaves. Acrylic works too and comes in many autumn colors. Pick a few shades, such as orange, mustard, burgundy, brown and green.
- Hook: use a size slightly smaller than the label suggests. A firm fabric helps leaves keep their shape instead of drooping.
- Tapestry needle: for weaving in ends and sewing leaves onto a project.
- Scissors: small and sharp ones are easiest for tidy tails.
- Optional: fabric stiffener, floral wire, or a glue gun for decorations.
If you want your leaves to look realistic, choose a yarn with a slightly heathered or variegated color. The shifts in tone make a leaf feel natural without any extra work.
The general method
I will explain the approach in my own words. Follow the video for the exact stitch counts and any special stitches used.
- Start with a foundation chain. This chain becomes the center vein of the leaf, and its length sets the leaf size.
- Work stitches of graduated height along one side of the chain. Short stitches near the stem, taller ones in the middle, then short again near the tip.
- Make a few stitches into the end of the chain to turn the tip of the leaf.
- Work back along the other side of the chain with the same graduated pattern so the leaf is symmetrical.
- Join and fasten off. You can leave a short tail for a stem or add a small chain to make a stalk.
- Weave in the tails, then press the leaf flat.
That graduated height is what gives a leaf its pointed oval outline. It is the same idea as shaping a petal, which is why leaves and flowers pair so well. If you need more practice with petals, take a look at this simple crochet flower guide.
Tips for better leaves
- Chain loosely. A tight foundation chain pulls the leaf into a curve. Use a larger hook for the chain if you notice this.
- Mirror both sides. Count your stitches on the first side and do exactly the same on the second.
- Vary the size. Longer chains make bigger leaves. A mix of sizes makes a wreath look natural.
- Add a center vein. Work a line of slip stitches down the middle in a slightly darker yarn for a realistic detail.
- Press or block. Pin the leaf to a soft surface, steam lightly, and let it dry flat.
A small tip from my own experiments: make ten leaves in one sitting with the same pattern. The eleventh looks better than the first, and the batch feels like real progress.
Common mistakes and fixes
The leaf is lopsided. Usually one side has a different number of stitches. Count each side and redo the shorter one. It only takes a minute on a small piece.
The tip is flat instead of pointed. Add one or two extra stitches in the last chain, or make the tip stitches taller. A pointed tip needs a little extra height.
The leaf curls like a taco. Tension is too tight. Relax your hands, go up a hook size, and press the leaf under a damp cloth.
The edges look gappy. Work stitches into the chain more carefully, and use a yarn that does not split. A thicker yarn may fill the space better.
Ways to use your crochet leaves
A single leaf is pretty, but a group of leaves opens up a lot of ideas.
- Make a fall garland by sewing leaves onto a length of string or a braided cord.
- Attach leaves to a wreath base with hot glue or a needle and yarn.
- Decorate a tote or a hat with a cluster of leaves for a seasonal accent.
- Pair them with a crochet pumpkin as a stem decoration or a table centerpiece.
- Use small leaves as gift toppers, napkin ring decorations or table place cards.
If you like seasonal touches, you might also enjoy matching your crochet with a cozy manicure. Here are some easy fall nail art designs that pair beautifully with a rust and mustard palette.
Finishing and care
Weave in all tails neatly. On a small leaf, loose ends stick out and are easy to see. Run the needle through a few stitches, then back in the other direction, and trim close.
If you want your leaves to be stiff, brush on a little fabric stiffener or a mix of white glue and water and shape them on a piece of wax paper to dry. For a bendable stem, stitch a length of floral wire along the back of the leaf. Always follow the product directions and test on a scrap first.
Because decorative leaves usually do not get washed, care is simple. Dust them lightly or shake them out. If one gets dirty, spot clean with a damp cloth. Store leaves flat in a box or a bag between seasons so they do not crush. Next autumn, they will be ready to hang up again.
Frequently asked questions
How big is a crochet leaf?
It depends on your foundation chain and your yarn. A short chain with worsted yarn gives a small leaf, and a longer chain gives a bigger one. Try a few lengths to see what you like.
What colors should I use for fall crochet leaves?
Rust, mustard, burgundy, brown, deep orange and olive green all look natural. Variegated or heathered yarn adds extra depth without any extra work.
How do I make crochet leaves stiff?
Use cotton yarn and a slightly smaller hook, then brush on a light fabric stiffener or a glue and water mix and shape the leaf while it dries. Follow the product directions and test on a scrap first.